 To access a database server, that has no public access (as it must be – access only inside an AWS VPC), Tableau suggests using its tool called Tableau Bridge.
The idea is to have a Bridge service running in a network, which has access to a database server via its Private IP. Also, Bridge will perform data encryption during its transitioning via the Internet.
In general, Tableau made a lot of documentation about its Bridge, but it’s a bit incomplete, as for me.
For example, the very first question for me was – does the Bridge service needs to be running on the same machine, where Tableau Desktop is running? Or it can be hosted on another PC? Documentation doesn’t say anything about this, and I had to ask the tech. support, which first told me, that they can be hosed on separate instances. But then it turned out, that you still need to have access from a PC with the Desktop to add a new data source.
Also, it’s very weird how the Bridge is working in general on its network layer. How connections are routed? Why it’s impossible to have a PC with the Bridge and Desktop in an office, another PC with only Bridge on a PC in a database server’s network, and then route requests between them?
Tableau’s documentation unfortunately doesn’t reveal that details. Check it here: Use Bridge to Keep Data Fresh, and Plan Your Bridge Deployment.
So, in this post, we will spin up an EC2 with Wirfows, will install Tableau Bridge client there, Tableau Desktop, and will add a new connection to a new database server via a private network link to use it later in the Tableau Online.
Contents
AWS Windows EC2
Choose Windows Server 2019:
For now, we can use the t3.large as we have Windows, plus Tableau Bridge is written in Java, so it will consume some resources:
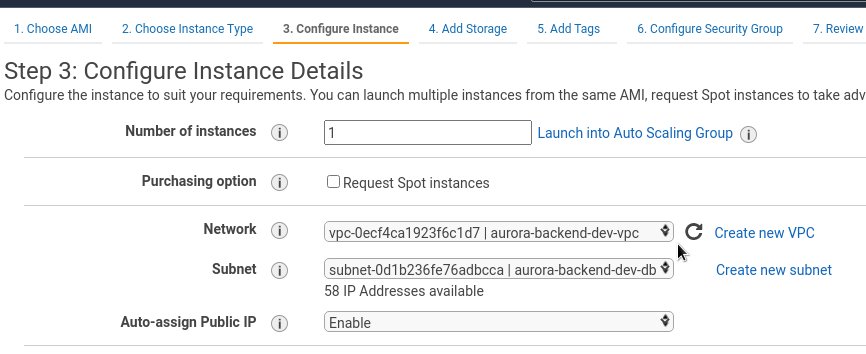
Choose a VPC where our database server will be hosted:
For Production later we will have a dedicated VPC with VPC peerings.
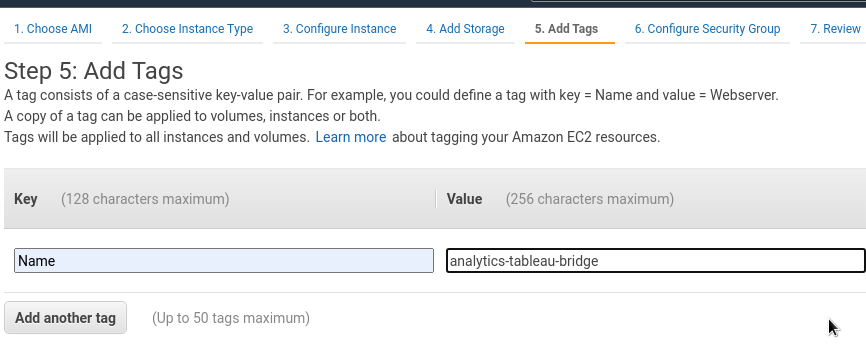
Set a name for the instance:
In its SecurityGroup allow RDP from the office:
Bridge will create only outbound connections, so no need to add any Inbound rules here.
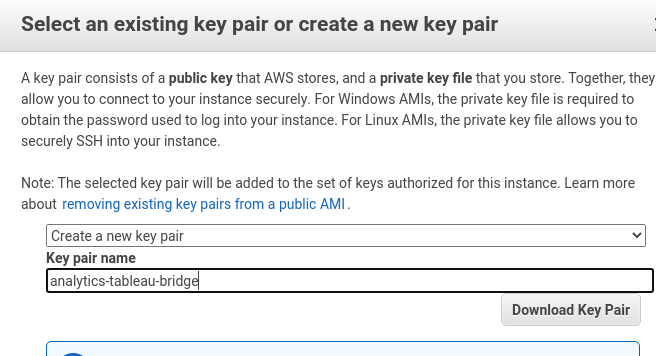
Create an RSA key:
Windows RDP from Linux
Use the xfreerdp.
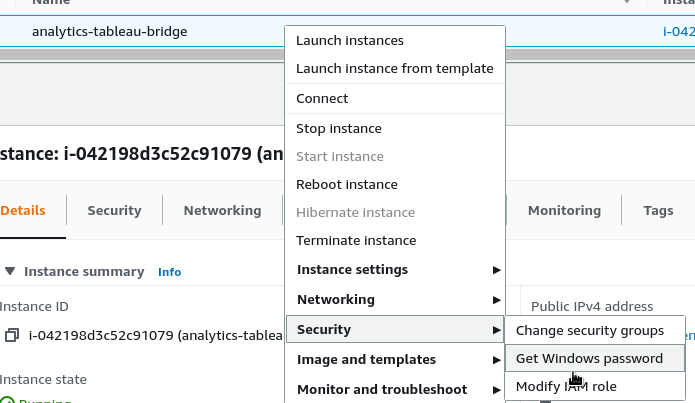
To get a password, go to the AWS EC2 Console, click Security > Get Windows password:
Upload your key:
Copy the password:
Connect via RDP:
[simterm]
$ xfreerdp /u:Administrator /p:'.6o***A*E' /h:900 /w:1440 /v:18.***.***.139
[/simterm]
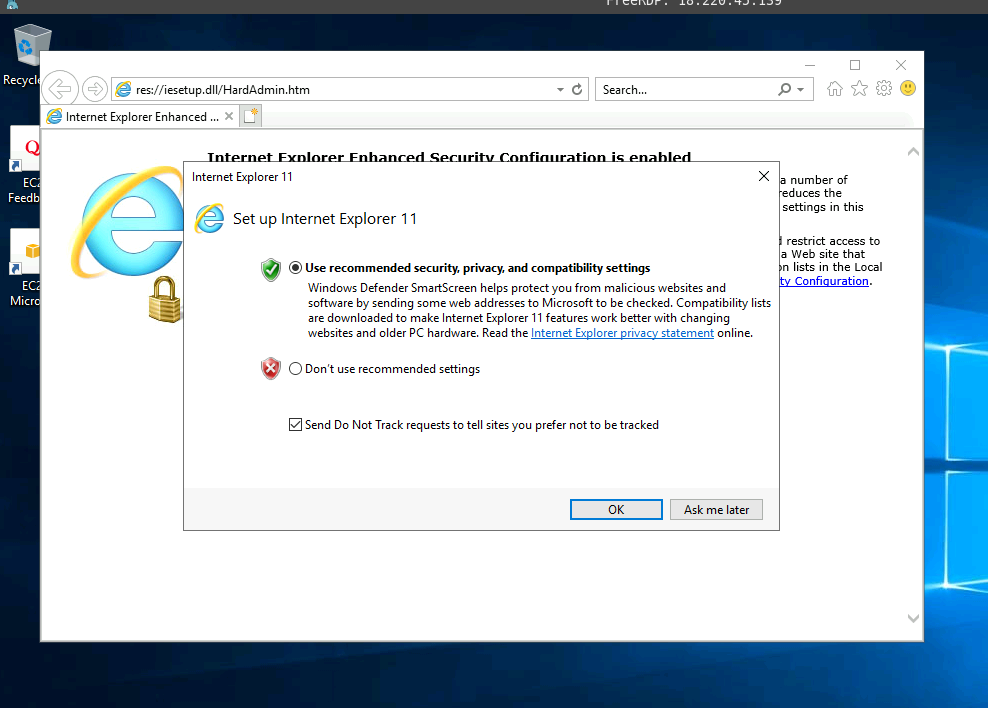
Install Chrome/Edge/whatever, just no the IE 11:
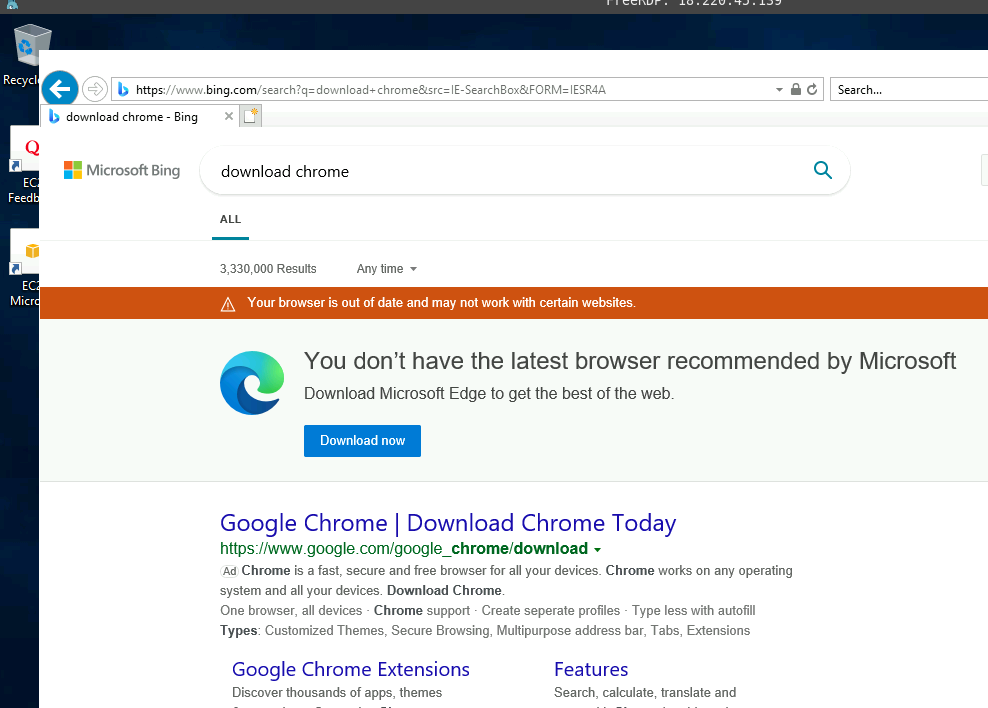
Oh, my… Windows will suggest downloading its Edge, even if google for the “chrome download“:
Windows: “Your current security settings do not allow this file to be downloaded”
And will block the download attempt:
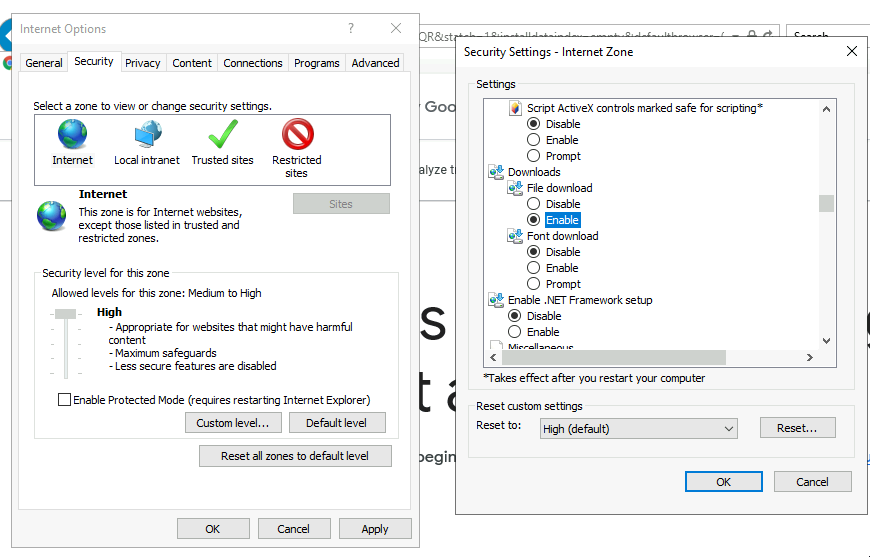
Go to the IE Settings, and enable downloads:
Install Tableau Bridge
Documentation – Install Bridge.
Not sure about versions – does Tableau Bridge needs to be the same version as Tableau Desktop.
Don’t think it’s related to each other, but I’ve used the same versions.
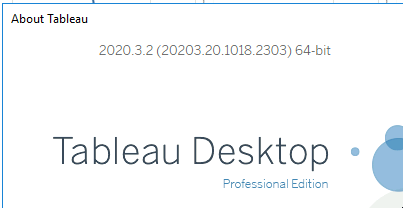
Check current Desktop’s version – Help > About Tableau:
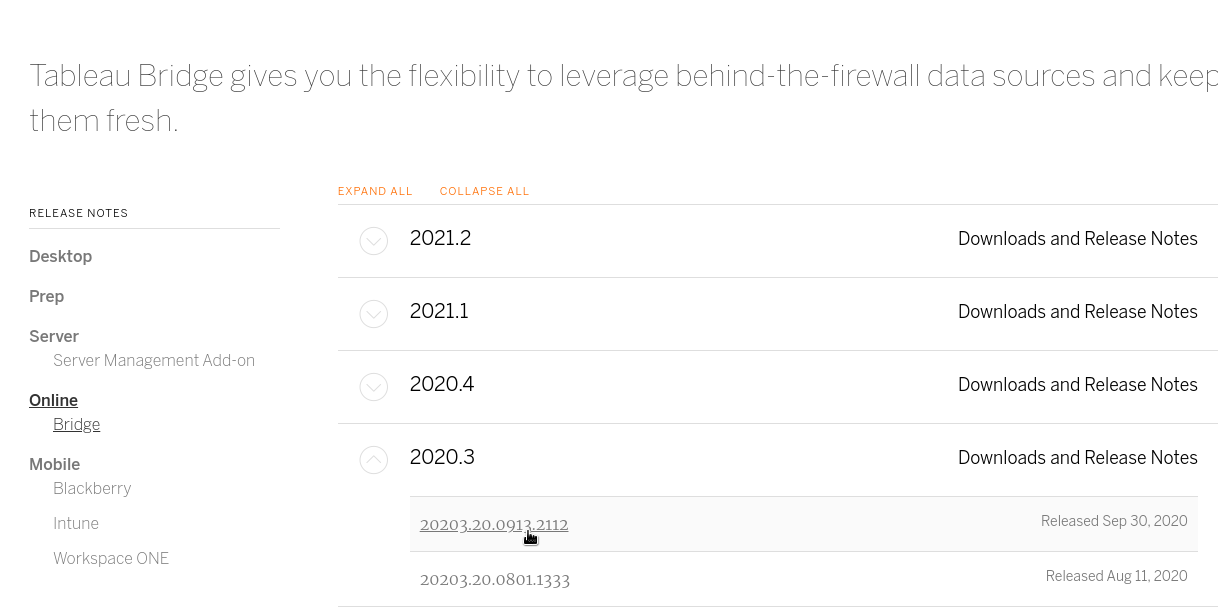
Download Tableau Bridge from the Product Downloads and Release Notes(Link opens in a new window) page:
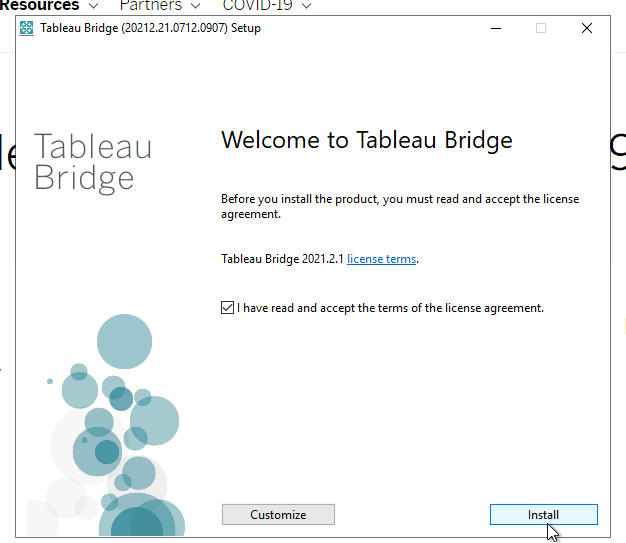
Run the installer:
Log in to the Tableau Online:
And we are ready for new connections:
Tableau Bridge Mode
At the bottom on the left side, you can choose how the Bridge will be running, see the Install BridgeAbout the Bridge Client.
In short:
- application: will run Bridge only when a user will be logged in to the Windows
- service: will run Bridge each time after system start
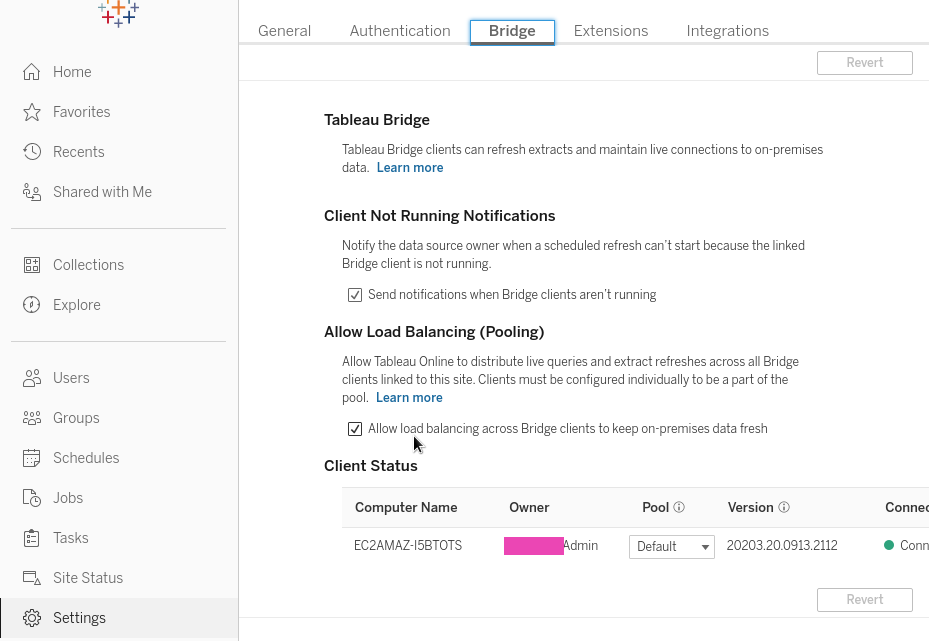
Okay, so we’ve started the Bridge service. Go to the Tableau Online – Settings > Bridge to check it:
Its status is Connected, looks good here.
MySQL drivers for Windows
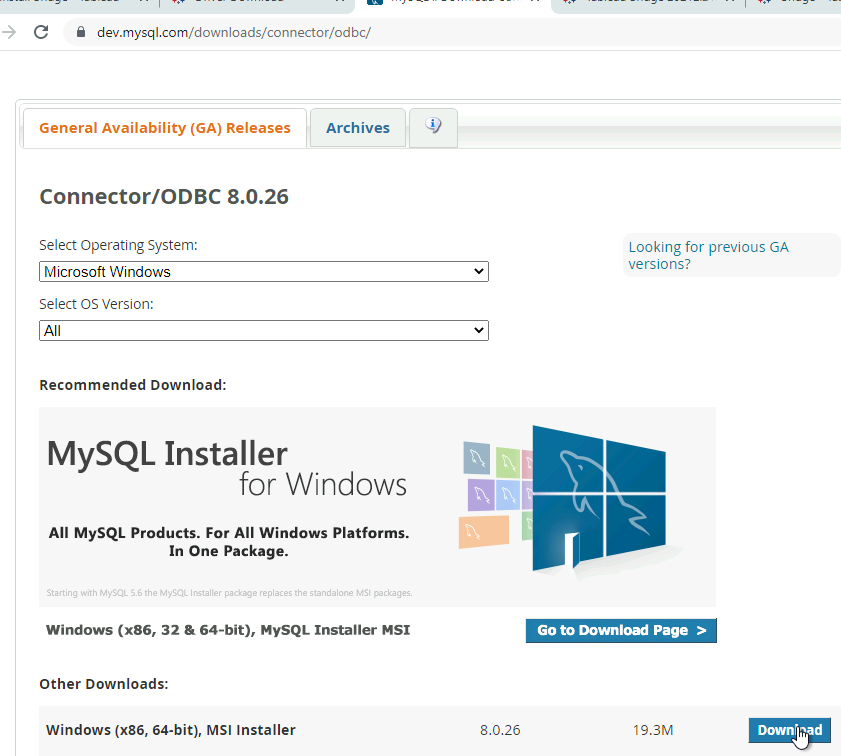
Download the MySQL driver:
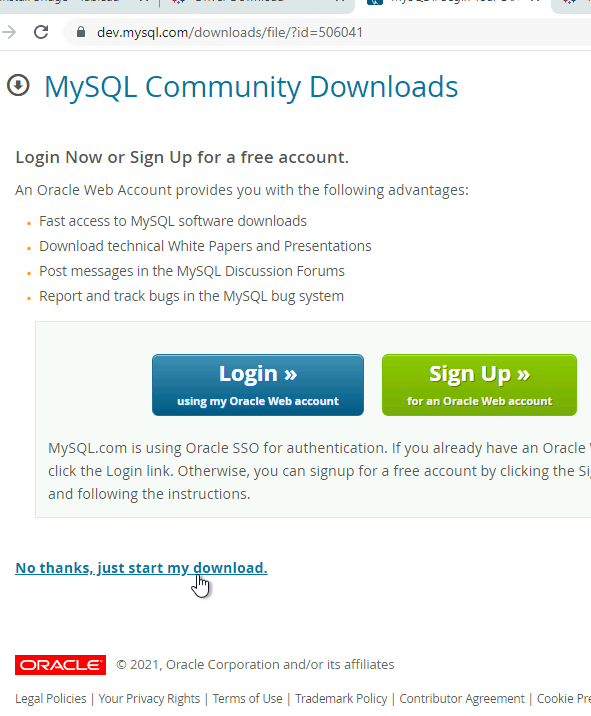
Do not log in, click on the Just download:
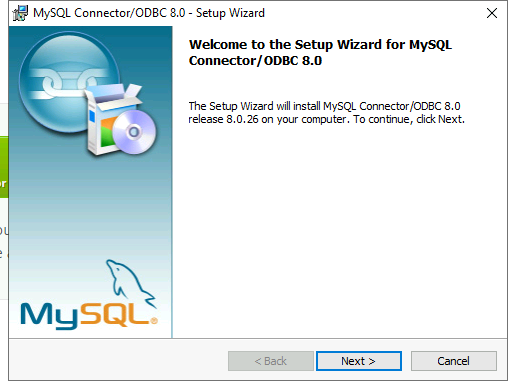
Install it:
AWS Aurora RDS MySQL test instance
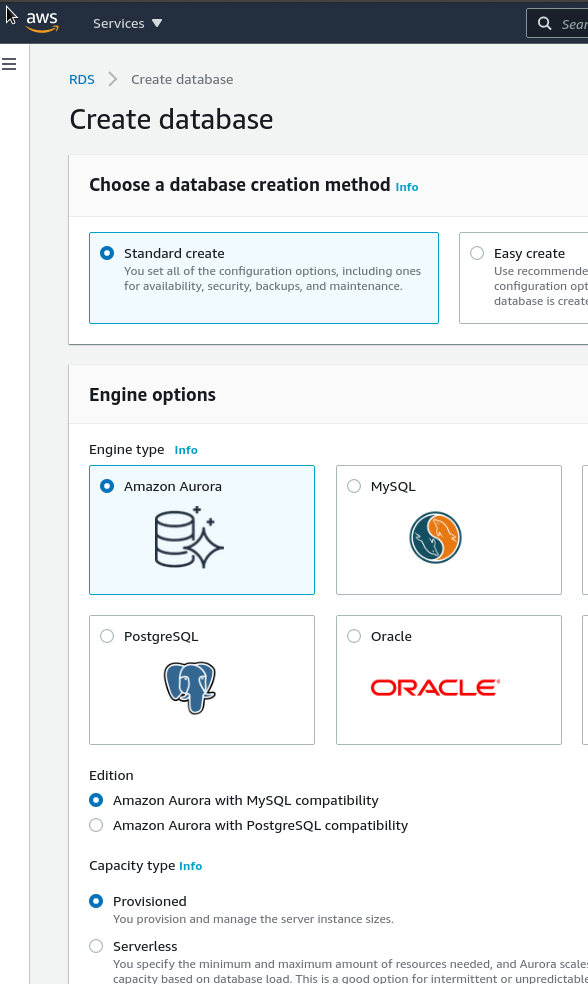
Now, let’s create a fresh AWS Aurora RDS cluster for the testing purpose:
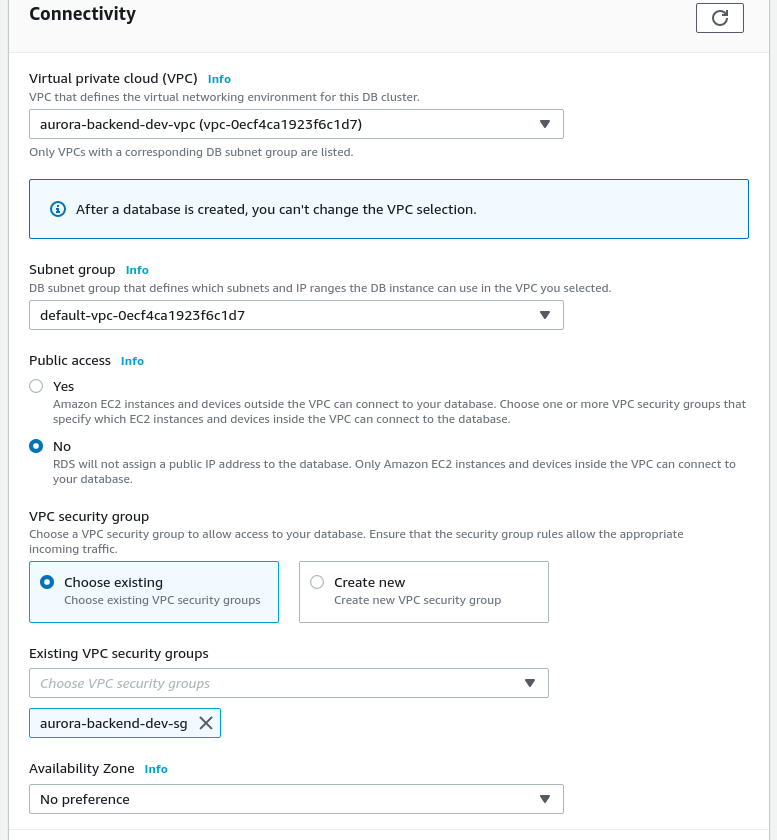
In its network settings, choose the AWS VPC, where is our EC2 with the Tableau Bridge is running. Set the Public access disabled, attach a SecurityGroup:
In this SecurityGroup allow access from the ЕС2 with Windows and Bridge to the Aurora cluster on the port 3306:
Windows ConEmu and MySQL Shell
Optionally, install ConEmu, as the default Windows cmd is terrible.
Also, you can use MySQL Shell.
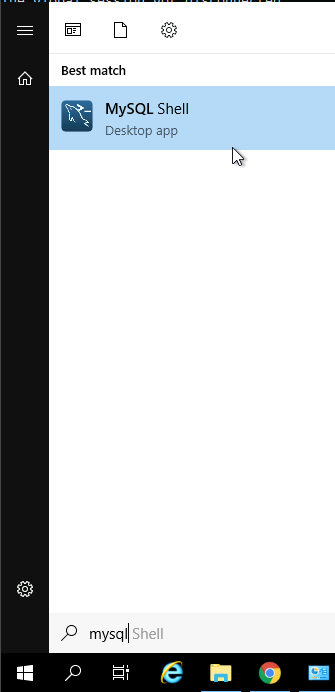
Run the Shell:
Check the help by using the \help command, or for a particular command, for example connect – \? \connect.
Connect to the Aurora server:
[simterm]
MySQL JS > \connect [email protected]
[/simterm]
Switch to the sql mode:
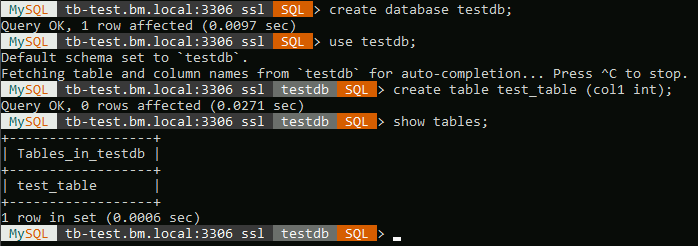
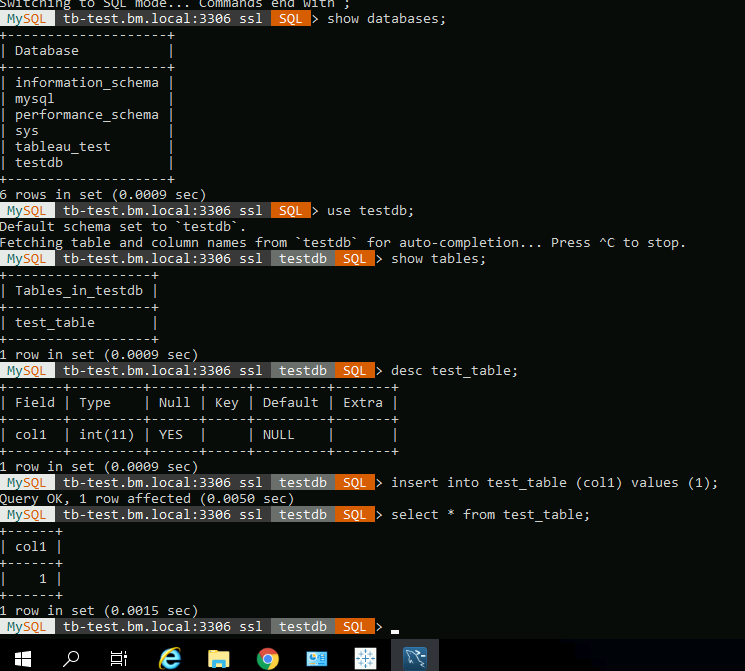
Create a database and a table:
Tableau Desktop and a data source connection
Next, need to install Tableau Desktop on the EC2, where is our Bridge is running.
Then, from this Desktop we will create a new data source, will publish it to Tableau Online, which will use the Bridge to run extracts and refreshes from this database server.
Download the Tableau Desktop installer – https://www.tableau.com/products/desktop/download,install it:
As far as I remember, you can use the same license key three times, so let’s use an existing key.
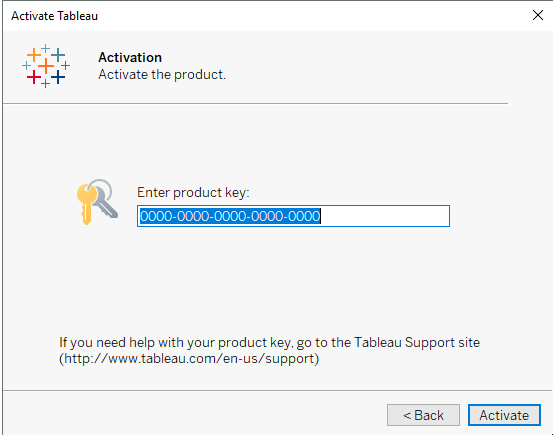
Choose Activate with a product key:
Get the current key from the old Tableau Desktop – Help > Manage product keys, enter it for the new Desktop instance:
The “Live connections disabled on site” error
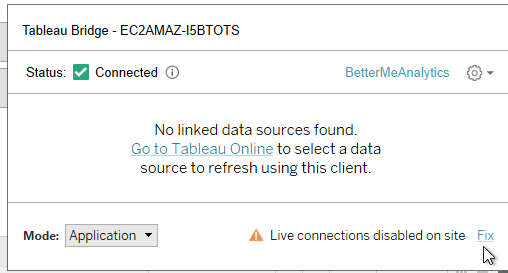
At this moment, we can see the “Live connections disabled on site” message for the Bridge service:
Google it, find the Identify causes for live query issues, go to the Tableau Online, and enable the Tableau Bridge pool:
Now, the error disappeared:
Adding a new Tableau Data Source
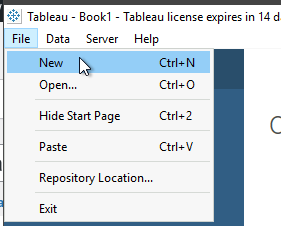
Create a new workbook:
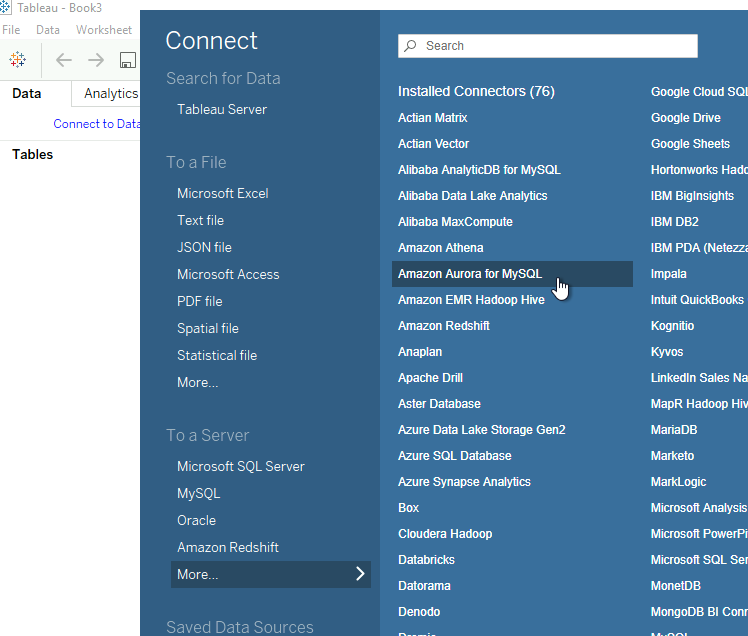
Click on the New Data source:
Choose AWS Aurora:
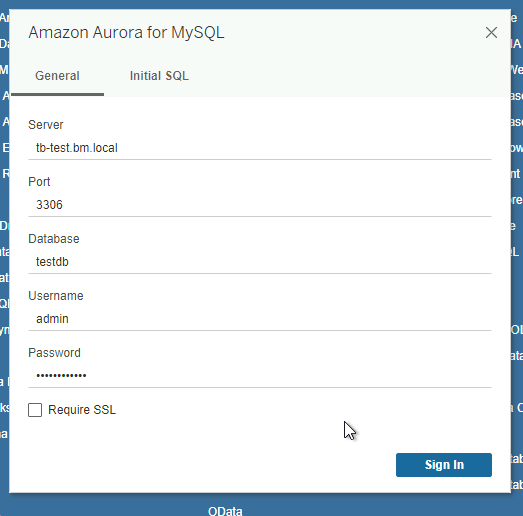
Set connection details, log in to the database server:
And connection is ready:
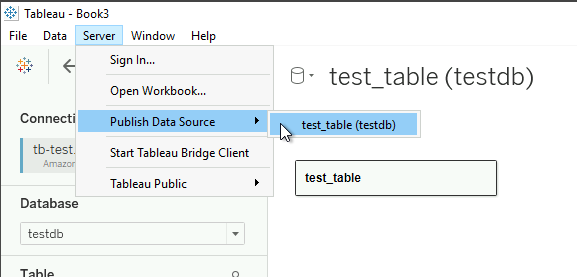
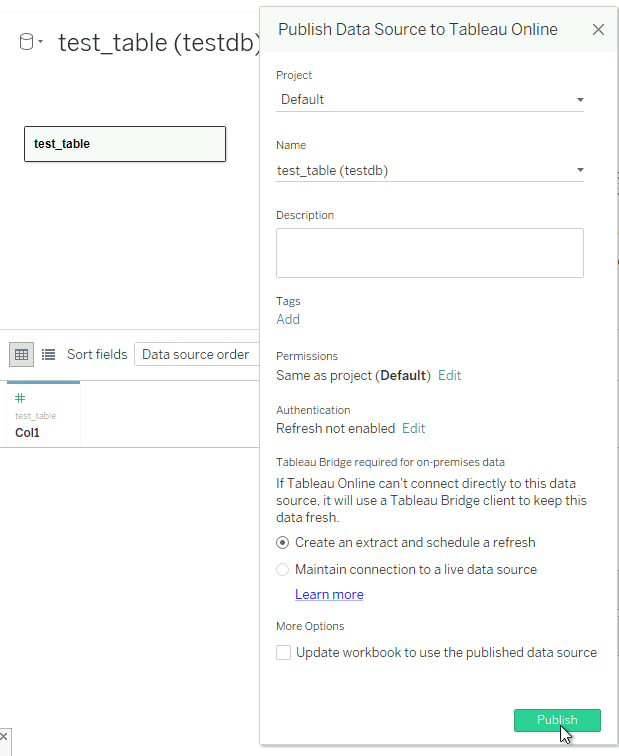
Push it to the Tableau Online, см. Publish a Data Source:
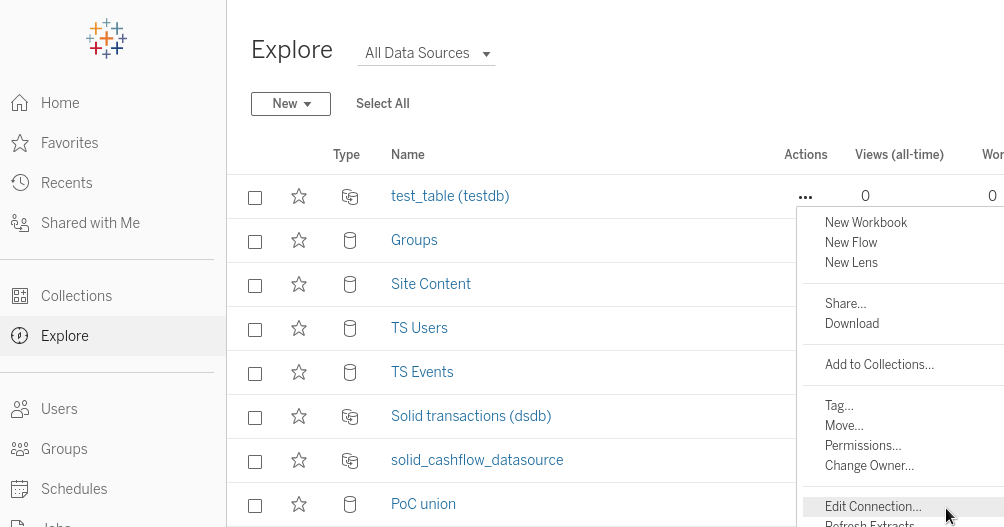
Go to the Tableau Online, check the connection:
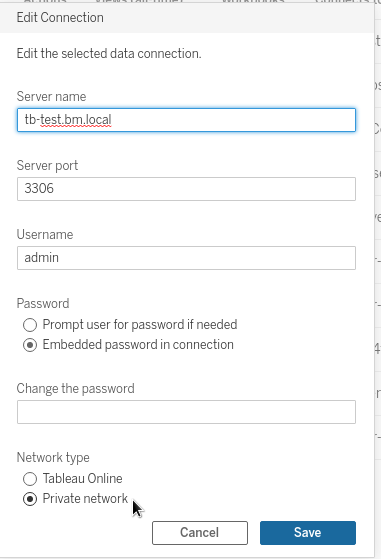
Its Network Type must be set as Private Network:
So all requests to this data source will be routed via Tableau Bridge.
Add some data to the database:
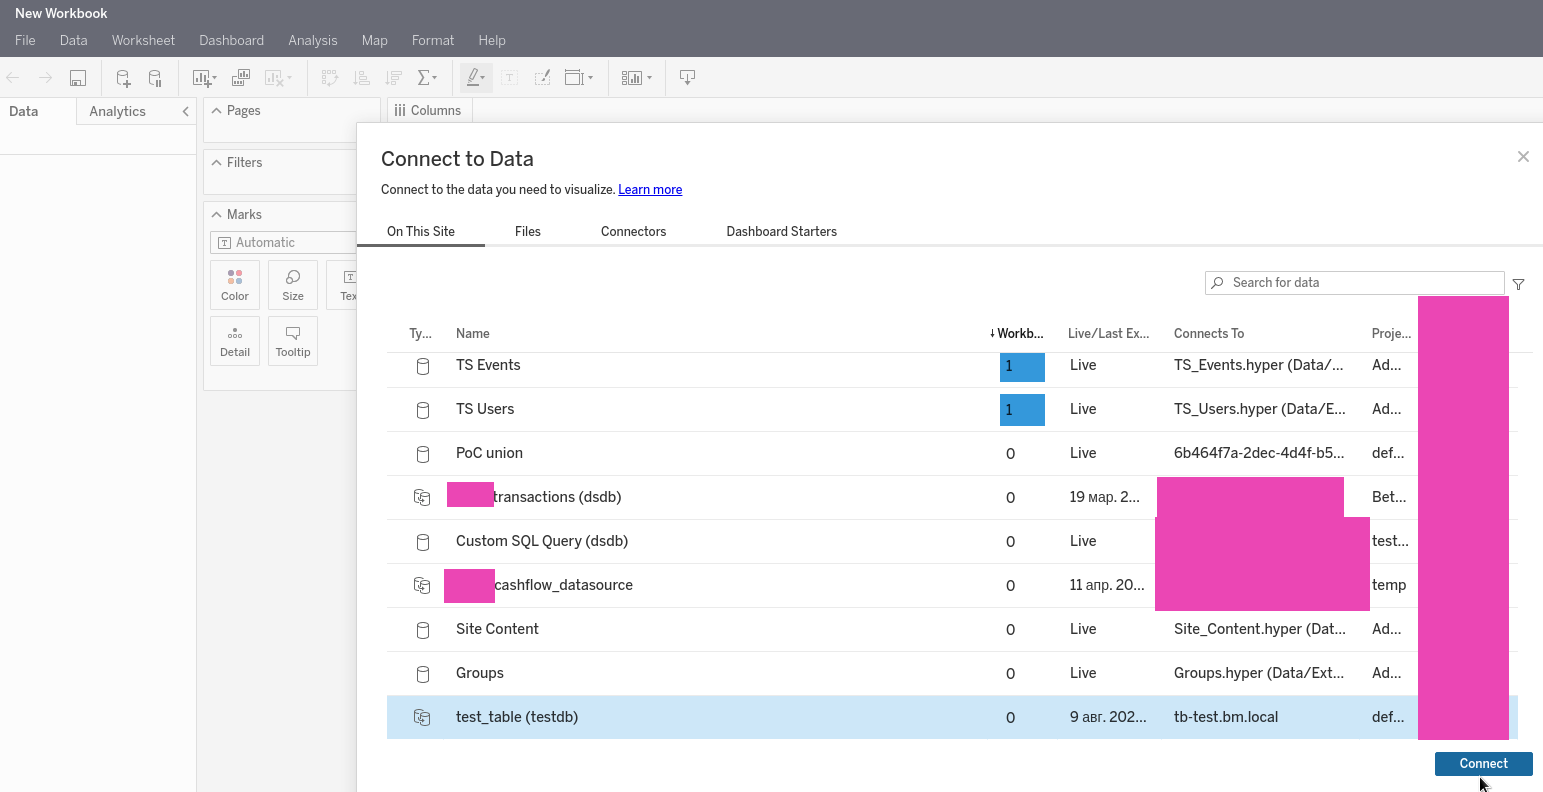
And let’s try to see them in the Tableau Online – create a new Workbook, set the data source:
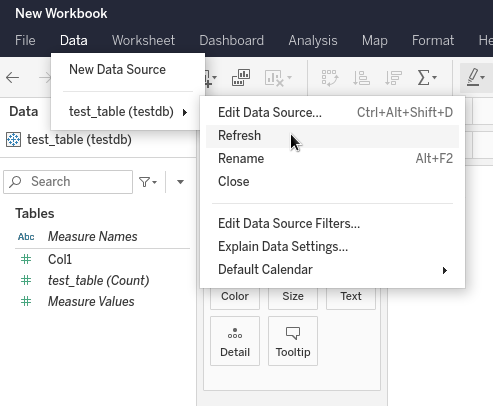
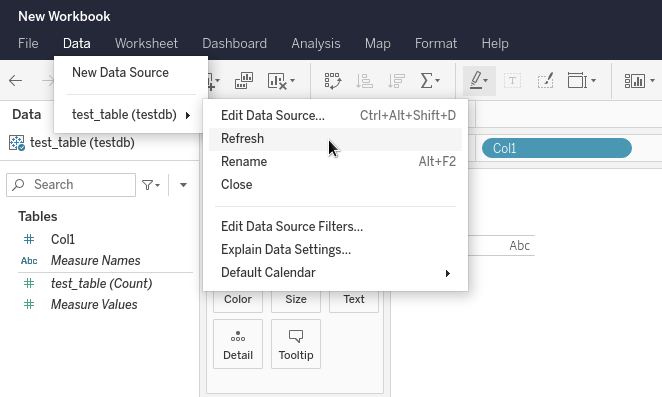
Refresh the data, to get the latest changes from the database:
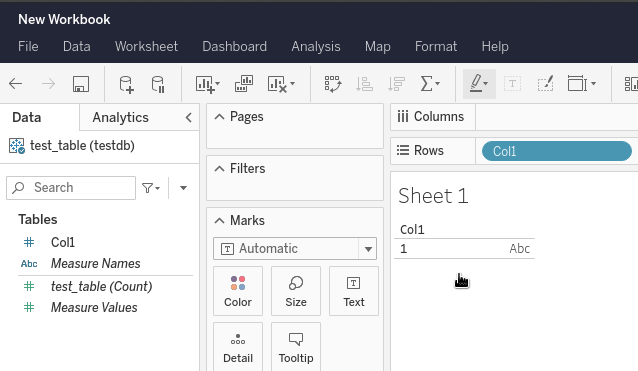
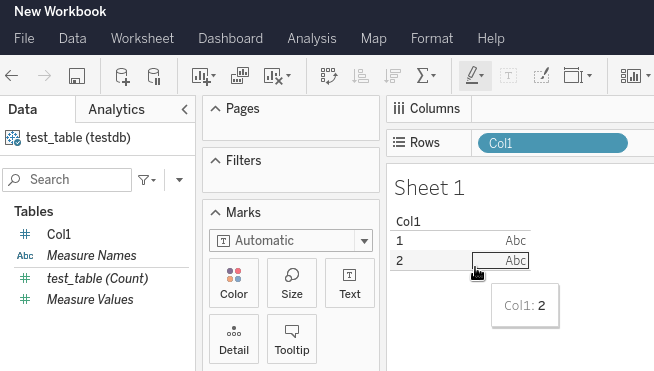
Add the col1 to the workbook, and now you must see the data from the database:
Update the data in the table:
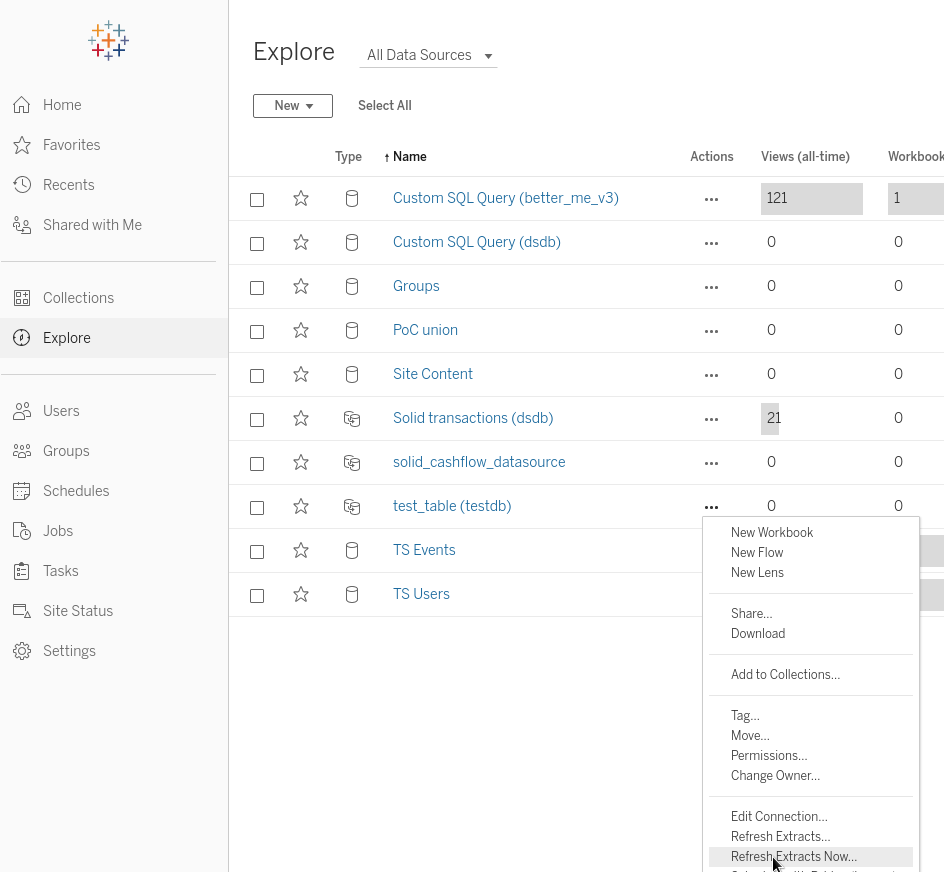
Refresh the data source:
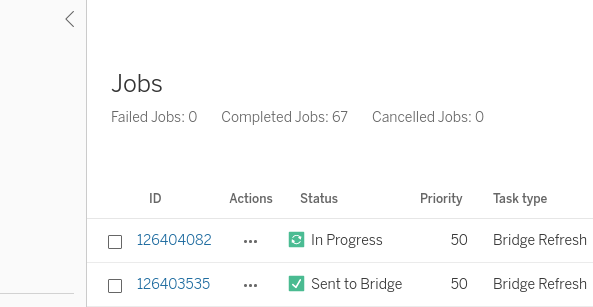
Check the Jobs when the In Progress status will be changed to the Sent to Bridge:
Refresh data in the workbook one more time:
And you’ll see the new data:
Done.


