Quite often for a new project that is just building its infrastructure and CI/CD to do so as an MVP/PoC, and at the beginning, no time is spent on tuning AWS IAM Roles and IAM Policies, but simply connecting AdministratorAccess.
Actually, this is exactly what happened in my project, but we are growing, and it’s time to put things in order in IAM.
Contents
The Problem and the Goal
So, we have GitHub Actions jobs that deploy the infrastructure from Terraform.
To access AWS from GitHub, an Identity Provider with an IAM Role is used: a GitHub Actions Worker performs authentication and authorization in AWS with the specified IAM Role at the start of the job, and then launches the actual deploy with Terraform.
For the IAM Role, the AdministratorAccess policy is currently connected, and our task is to write a new fine-grained policy where there are no unnecessary accesses.
The first option is to create an empty policy, connect it to the role instead of AdministratorAccess, and run the job over and over again looking at the errors in the logs:
And then add permissions one by one, for example, the lambda:ListVersionsByFunction from the screenshot above.
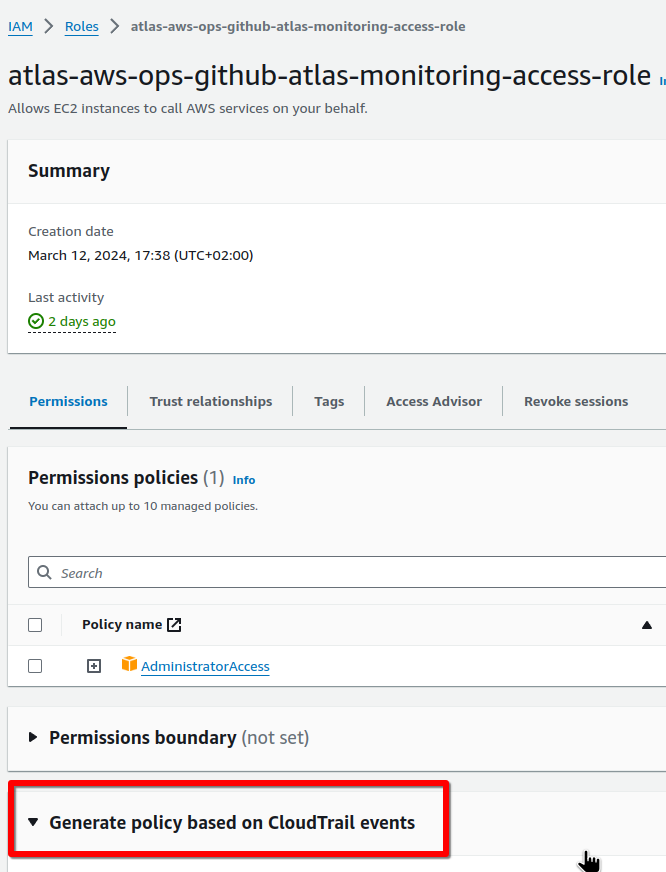
The second option is to use the IAM Access Analyzer policy generation:
It will use CloudTrail events for a specific IAM Role and will create an IAM Policy that will contain only those API calls that were actually made by that Role.
In addition to the IAM Access Analyzer, there is an interesting tool called iann0036/iamlive, but it is not very suitable in our case, because the IAM Role is used in GitHub Actions with AWS Identity Provider.
Let’s see how to configure IAM Access Analyzer policy generation: we will create a CloudTrail, an IAM Role, will write a Terraform code that will create resources, and then check what policies Access Analyzer will offer us.
Creating CloudTrail Trail
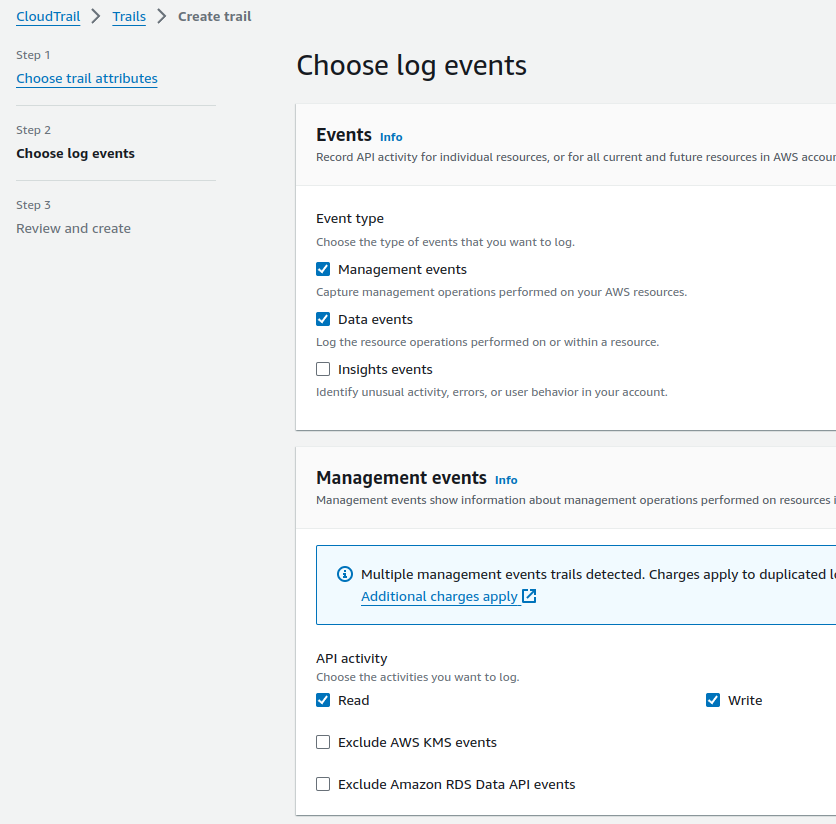
The first thing we need to do is create a CloudTrail Trail that will log actions. I wrote more about CloudTrail in AWS: CloudTrail overview and integration with CloudWatch and Opsgenie, but right now we are only interested in the types of events it can record:
- Management events: everything related to changes in resources – creation of EC2, VPC, changes in SecurityGroups, etc.
- Data events: everything related to data – creating objects in S3-buckets, changing DynamoDB tables, calling Lambda functions
So, if our Terraform code only creates resources in AWS, then Management events should be enough, but if it additionally performs some actions with data/objects, then both are needed. You can enable all of them, but keep in mind that CloudTrail trails are not free – see AWS CloudTrail pricing.
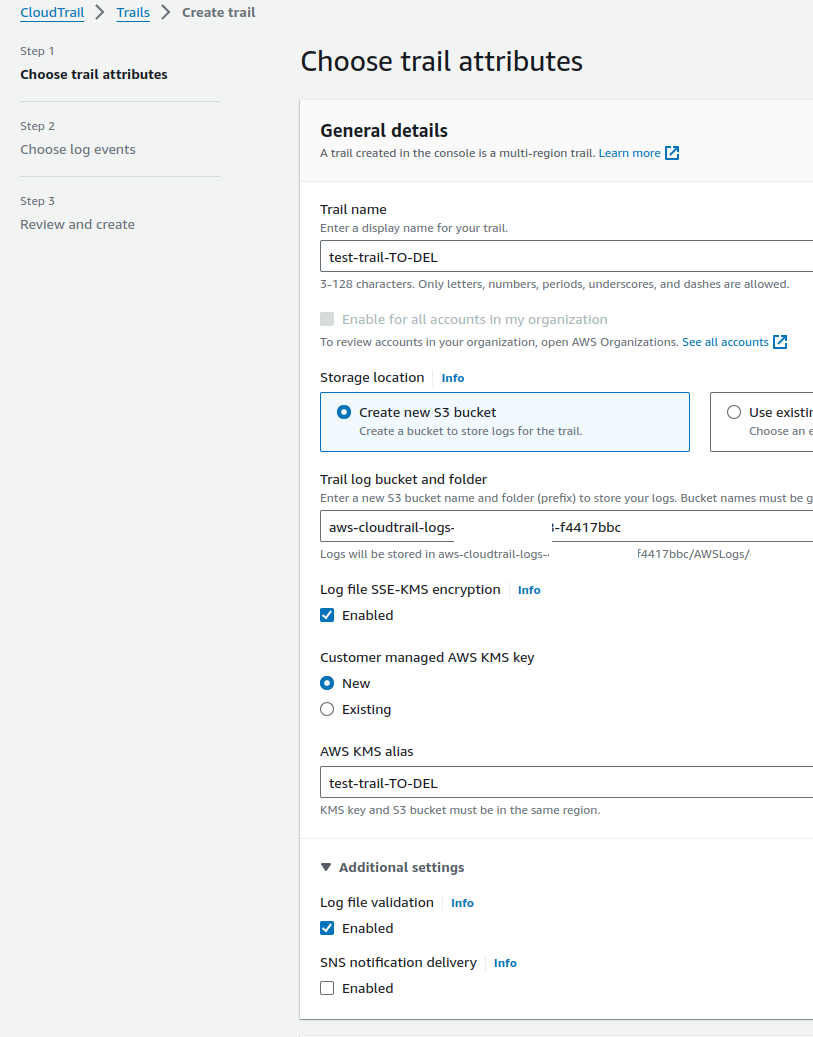
Go to CloudTrail > Trails, create a new Trail:
Let’s enable both types of logging – just to check, as in my current case, Management events would be enough:
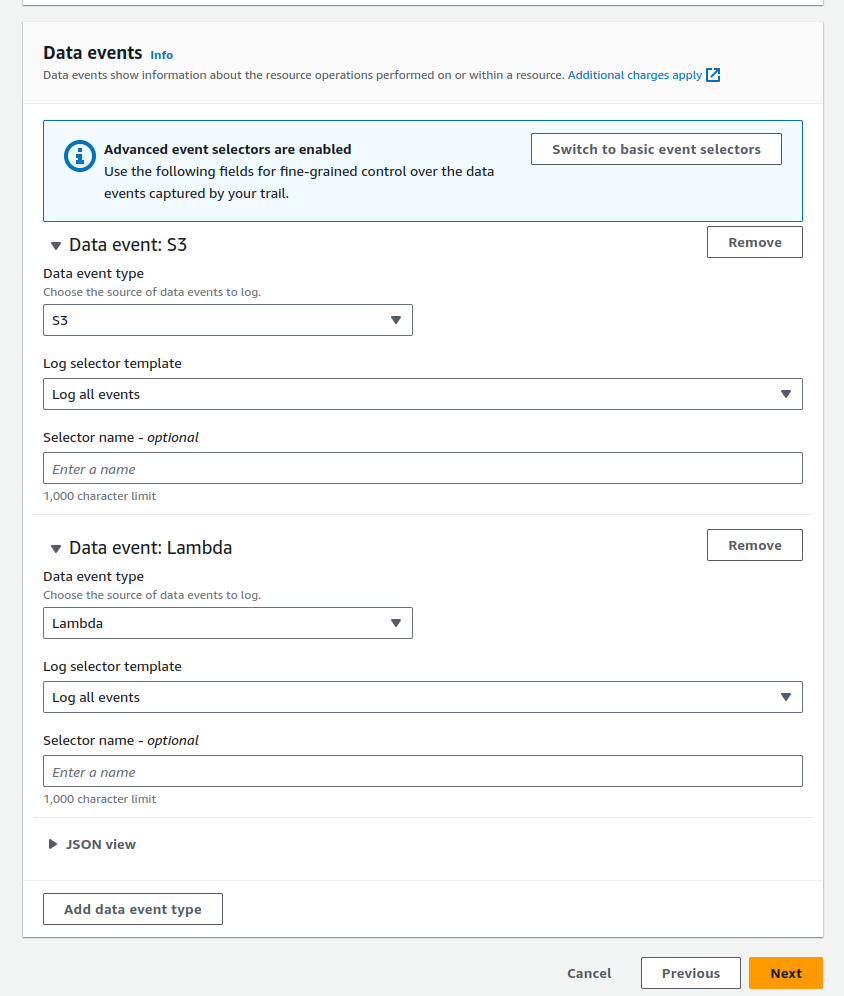
For the Data events, choose which services we will log:
Next, go to the IAM.
Creating an IAM Role
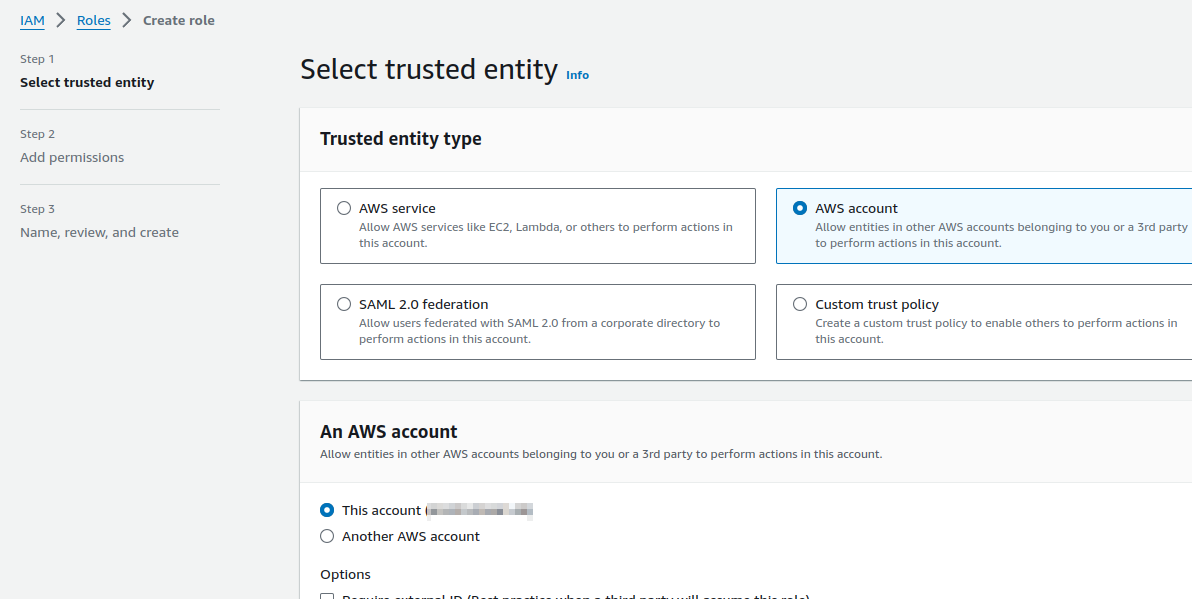
Add a new role with the Trusted entity type == AWS Account, because now we will test locally from the AWS CLI from our IAM user, and not through the GitHub OIDC Identity Provider:
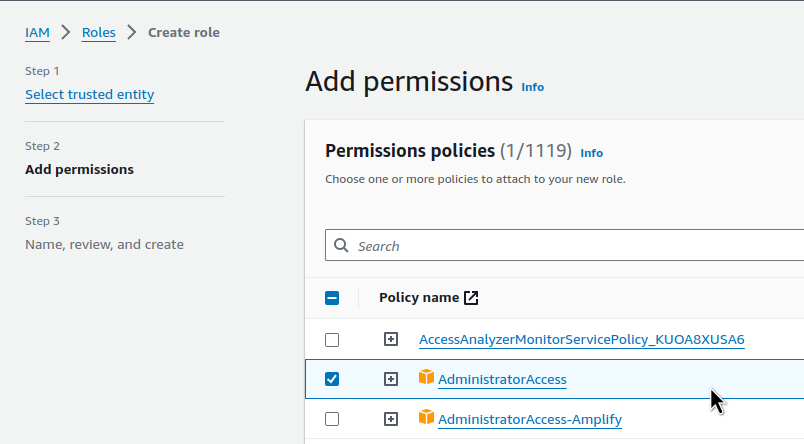
Attach the AdministratorAccess Policy:
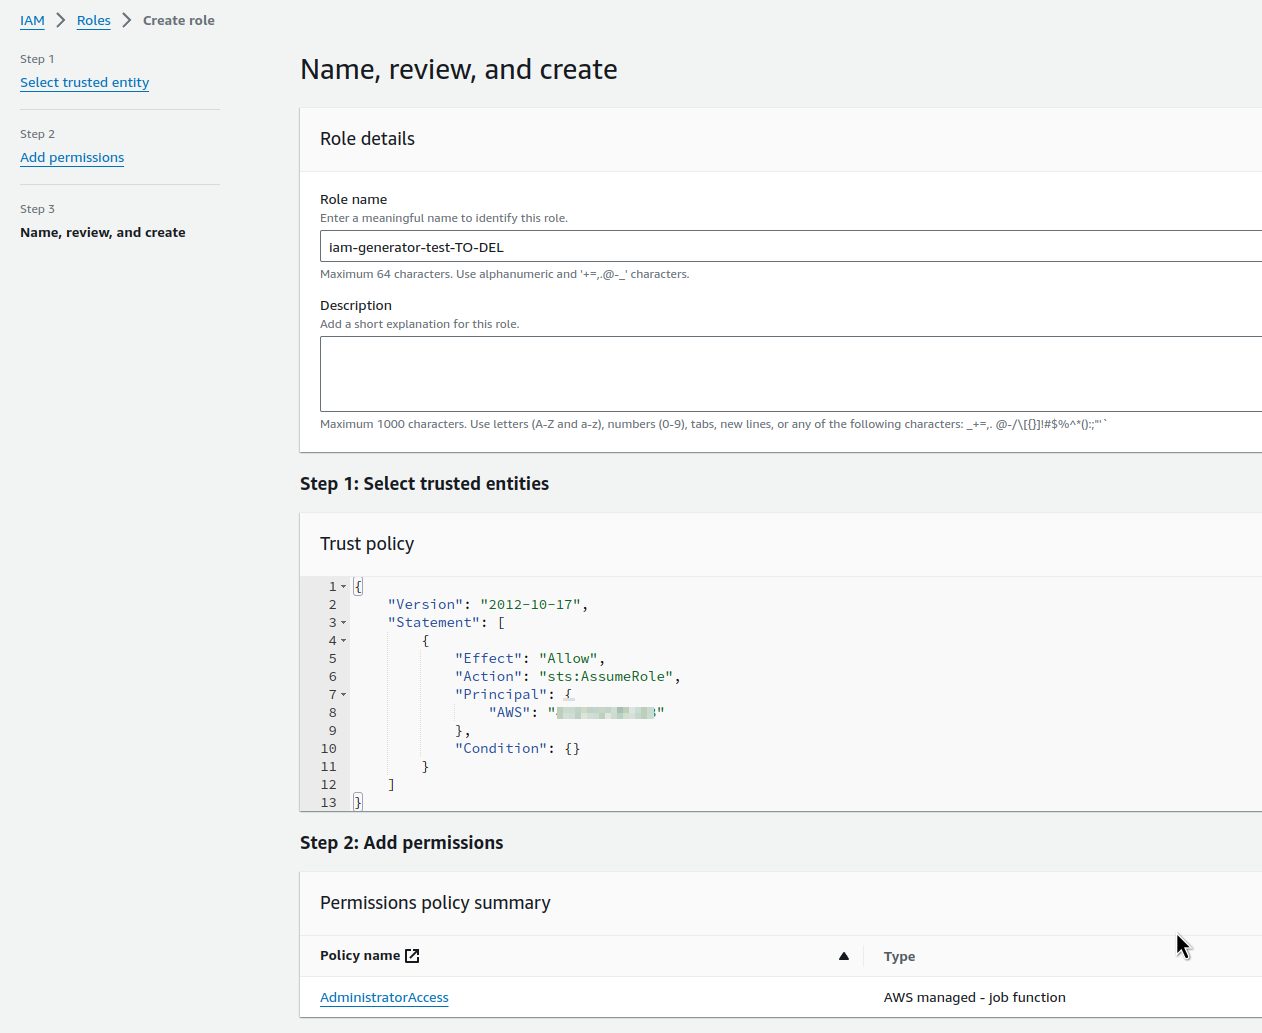
Save the Role:
Configuring AWS CLI
We’re going to test locally, but we’re going to simulate the work of GitHub Actions.
What we need to do is create an AWS CLI Profile that will execute the AssumeRole we created, and then Terraform will create resources in AWS with this profile.
Add a new profile in the ~/.aws/config file:
[profile iam-test]
region = us-east-1
role_arn = arn:aws:iam::492***148:role/iam-generator-test-TO-DEL
source_profile = work
source_profile = work here is my work profile, in which the Access and Secrets keys are set.
Check if IAM Role Assume is working:
$ aws --profile iam-test s3 ls
2023-02-01 13:29:34 amplify-staging-112927-deployment
2023-02-02 17:40:56 amplify-dev-174045-deployment
...
Okay – the buckets are visible, so the access is working.
Creating Terraform code
Let’s write a simple code that will create an S3 bucket using the IAM CLI Profile iam-test created above (remember that the bucket name must be unique for the specified AWS Region, otherwise AWS will try to create a bucket in another region):
provider "aws" {
  region = "us-east-1"
  profile = "iam-test"
}

resource "aws_s3_bucket" "my_bucket" {
  bucket = "blablabla-bucket-iam-test-to-del"

  force_destroy = true
}
Run terraform init and terraform plan:
Run terraform apply:
...
aws_s3_bucket.my_bucket: Creating...
aws_s3_bucket.my_bucket: Creation complete after 3s [id=blablabla-bucket-iam-test-to-del]

Apply complete! Resources: 1 added, 0 changed, 0 destroyed.
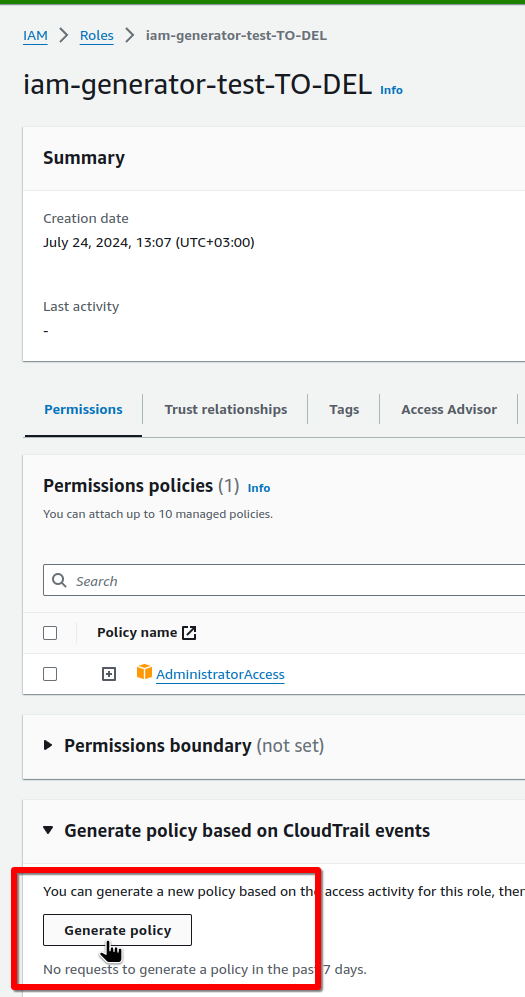
Using IAM Access Analyzer policy generation
It’s better to wait 5 minutes after Terraform is launched so that CloudTrail has time to record all the events, and then we can generate an IAM Policy for this role:
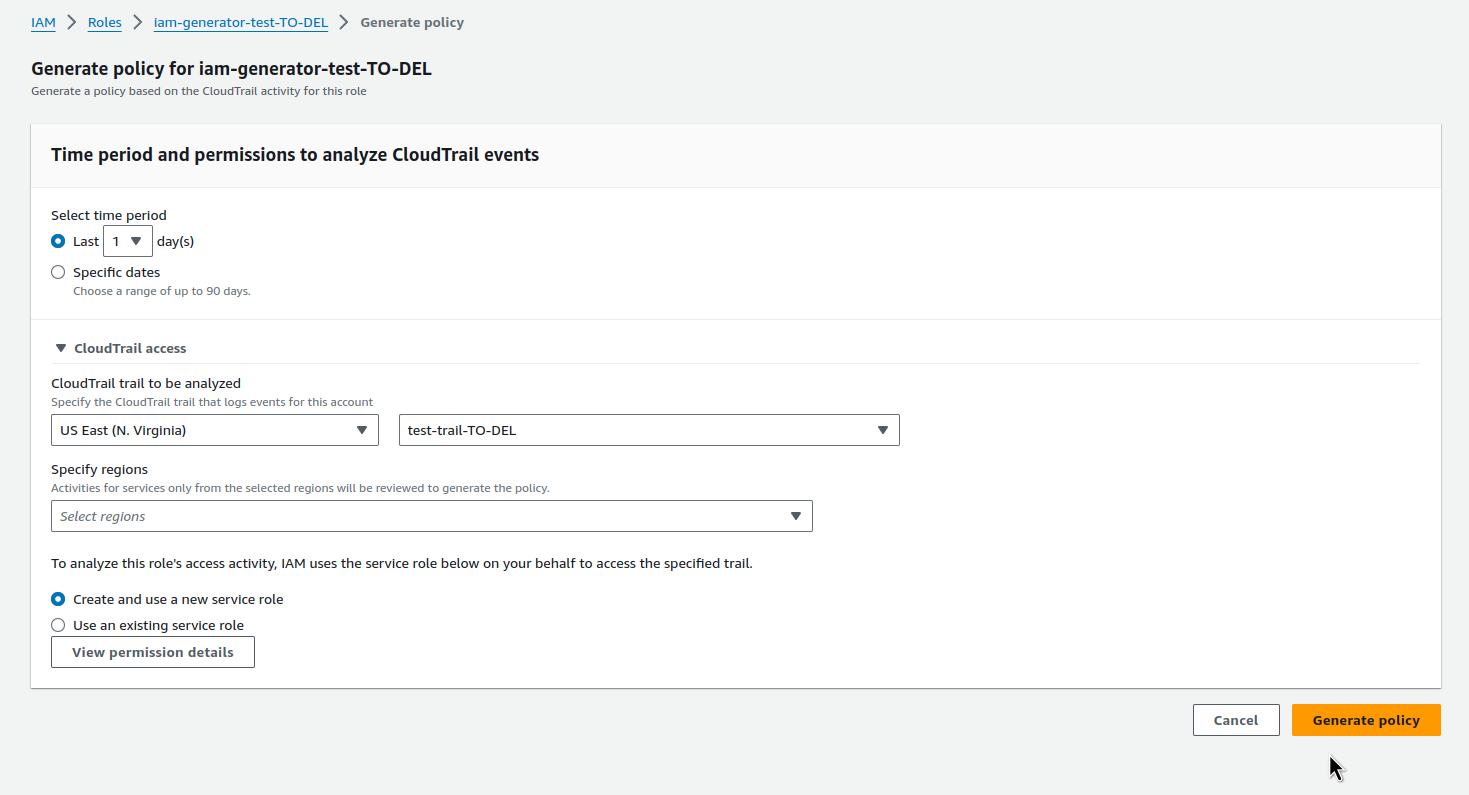
Select the period, region, and previously created Trail:
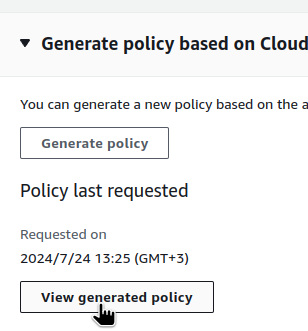
Wait 5–10 minutes for the CloudTrail logs to be analyzed (you can reload the page with F5, because sometimes the Status does not update itself):
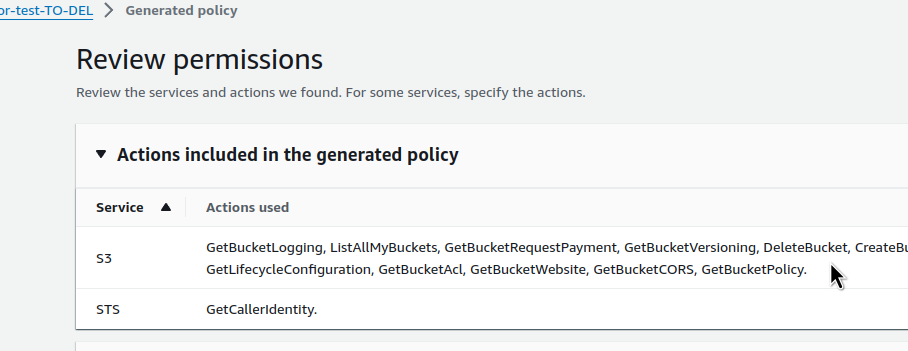
And check the Policy offered:
A whole bunch of API calls, and the main one for our test is the s3:CreateBucket.
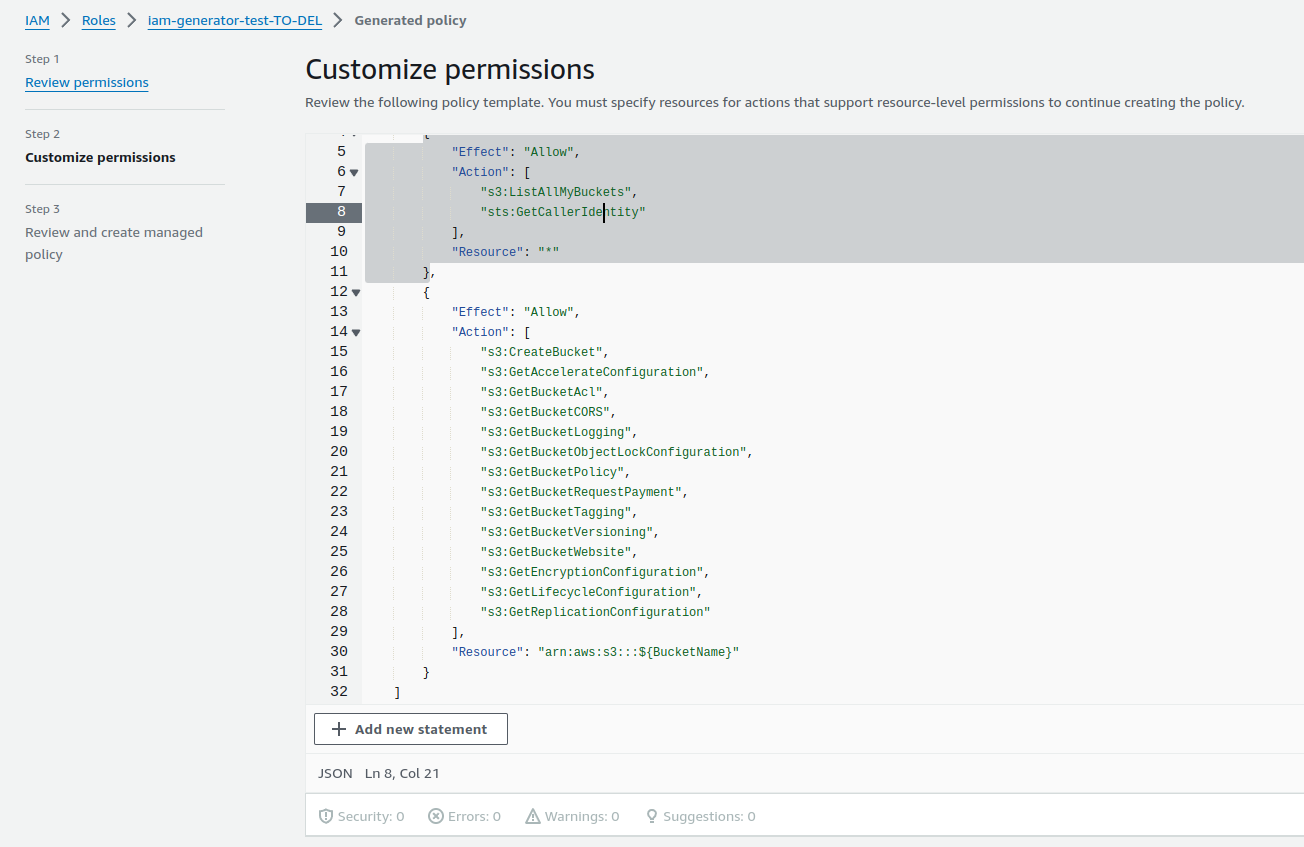
Click Next, and we have the policy itself in JSON:
Note that Access Analyzer has created separate rules for API calls that refer to all buckets – s3:ListAllMyBuckets, and separate rules for calls that refer to a specific bucket/buckets – s3:CreateBucket.
In this case, the Resource uses ${BucketName}, which we can replace with our own value:
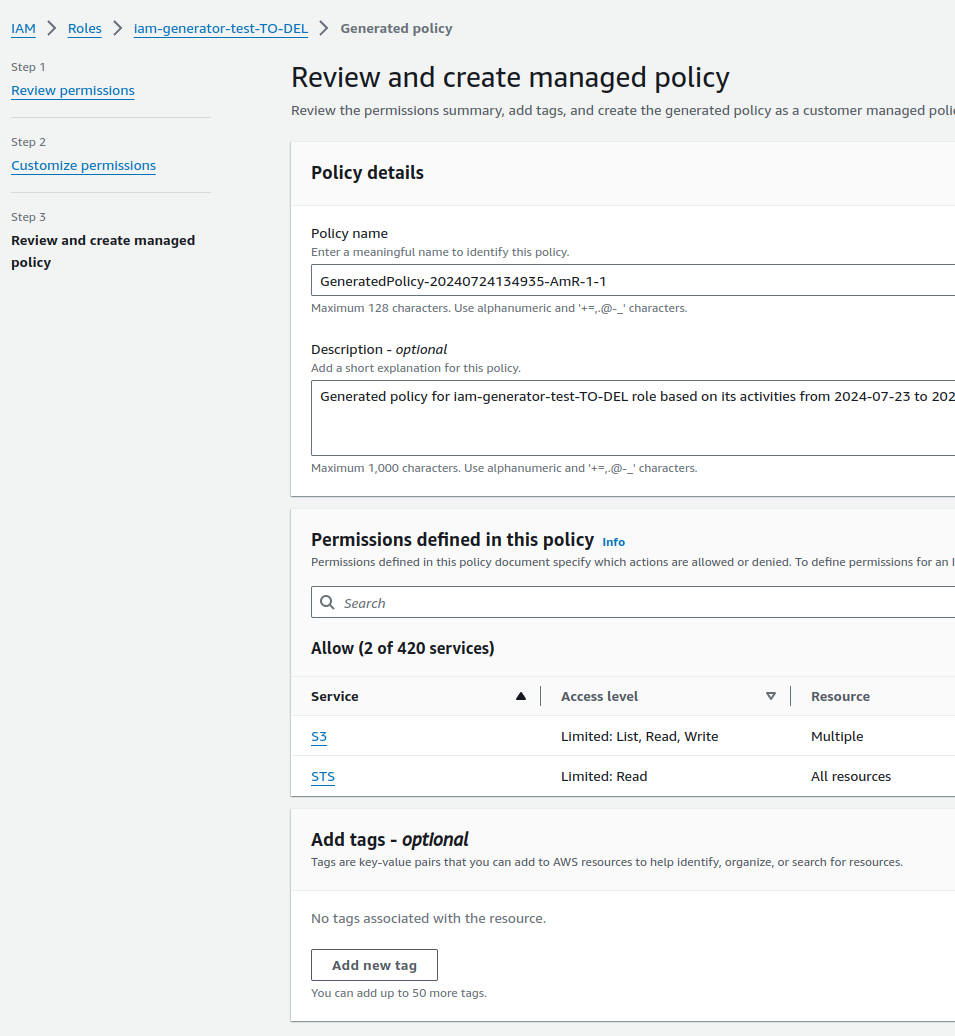
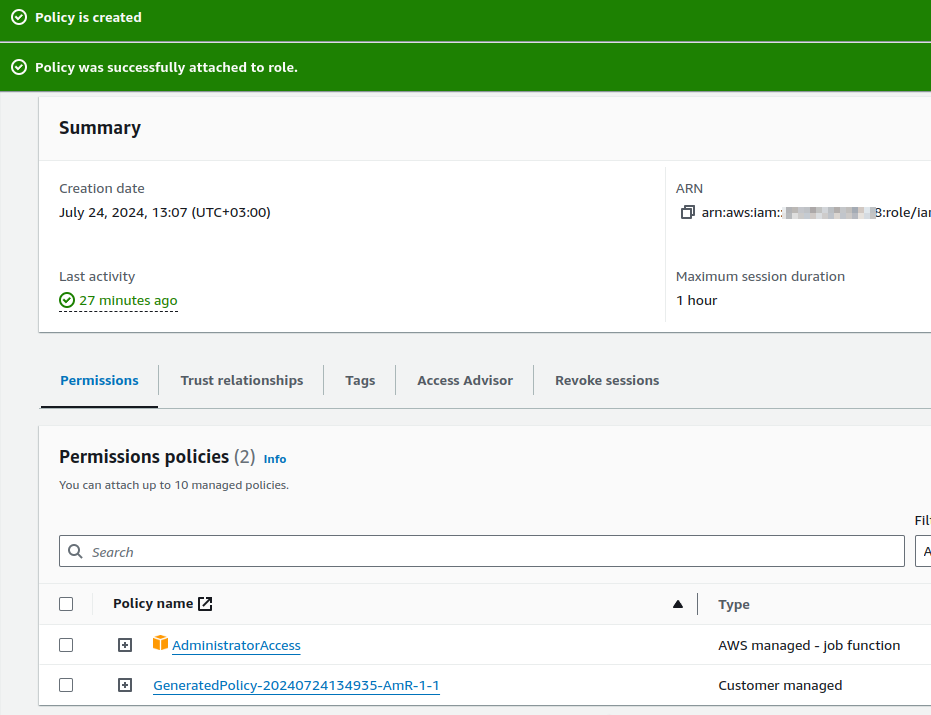
Save and connect this Policy:
And now we can disable the AdministratorAccess.
But keep in mind that we only created resources and, accordingly, made API calls related only to the creation of the basket.
That is, if we now remove AdministratorAccess and leave only this new policy, we will not be able to perform terraform destroy, because, firstly, we do not have the permissions to the s3:DeleteBucket API call, and secondly, when deleting a bucket, AWS must check if there are any objects in it, and for this, the s3:ListBucket operation is performed – so we will get the operation error S3: HeadBucket:
So you need to perform all the actions with Terraform, and only then generate a policy:
And then disable AdministratorAccess. But even so, the s3:ListBucket (for S3: HeadBucket) must be added manually.
Although this is a problem more specific to S3, it can be similar with other resources.

