 We consider Bitwarden as a passwords keeper for our project with the main goal to have an ability to have separated access to secrets by user roles and/or ACLs.
I.e. Pass or KeePass are good for self-usage by one person but they have no main things – a normal web-interface and role-based access to data. There are 1Password/LastPass of course, but they keep data on their own servers which is not too good for me.
Bitwarden is Opensource and can be used as a Cloud-based version or can be installed on your own server.
It has personal Free-version and paid with additional features.
Besides the personal usage, it can be used for Business with user roles – will try it later.
The home page is here>>>.
The main things I did like in Bitwarden:
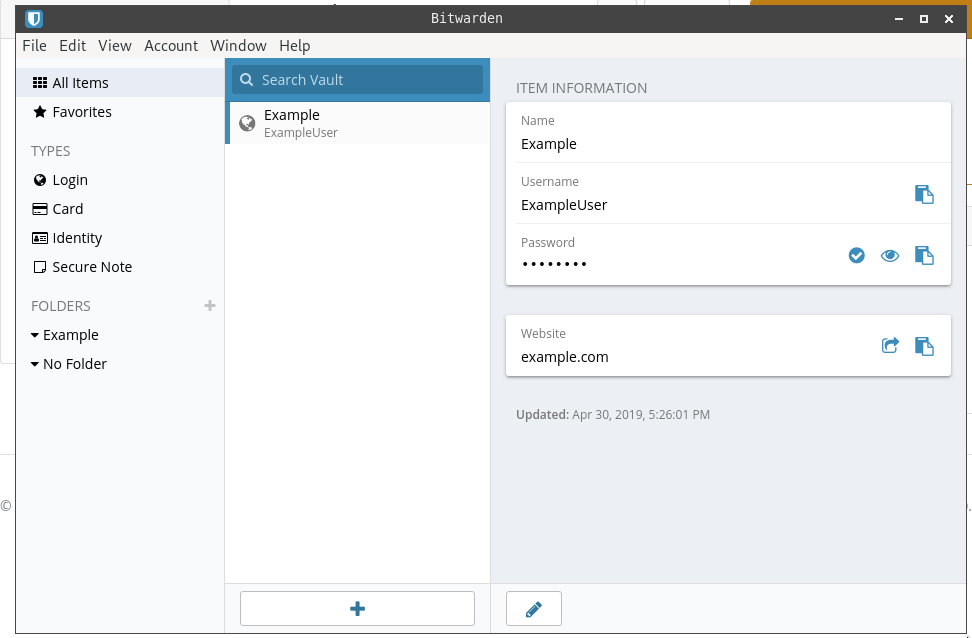
- has desktop applications for для Linux, macOS, Windows
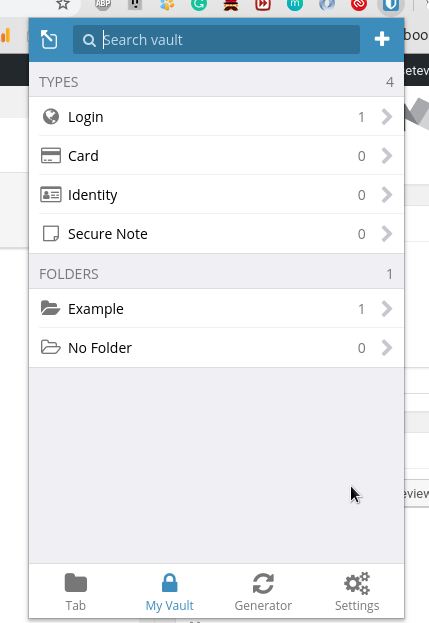
- all browsers extensions
- applications for Android and iOS
- RESTful API (in Enterprise version), i.e. theoretically can be used from Jenkins to populate its secrets
- has CLI utilities
- MFA authorization
- roles/groups based access (Enterprise version)
- File Storage
- data import from other passwords managers (Chrome, KeePass, 1Password etc)
Quick installation documentation available here here>>> and full – here>>>.
In this post, Bitwarden will be installed on an AWS EC2 instance with additional EBS volume mounted to /bitwarden where Bitwarden will store its data and which will be backed up by AWS Data Lifecycle Manager.
On the EC2 will have NGINX running as a frontend and SSL sessions with a certificate from Let’s Encrypt will be terminated here.
Although Bitwarden is running in a Docker Compose stack with its own NGINX and Let’s Encrypt certificates support – I’ll do it in a more traditional way, i.e. NGINX on a host will proxy requests to the NGINX in the Bitwarden’s stack, and this NGINX in its turn will proxy requests to its internal services.
Contents
AWS
Creating EC2
Will use Debian here. AMIs can be found here>>>.
At first, I started t3.nano but this wasn’t enough – an instance just hangs up after starting Bitwarden which is not surprising knowing that fact that it uses MSSQL and has 9 containers running. And Bitwarden itself is Bitwarden is .NET application written in C#.
Run an EC2 with the t3.medium type:
[simterm]
$ aws --profile bm-backend ec2 run-instances --region eu-west-1 --image-id ami-01820e22b83de8d0d --key-name setevoy-testing --instance-type t3.medium --tag-specifications 'ResourceType=instance,Tags=[{Key=Name,Value=bitwarden-dev}]'
[/simterm]
Get its Availability Zone:
[simterm]
$ aws --profile bm-backend ec2 describe-instances --region eu-west-1 --filters "Name=tag:Name,Values=bitwarden-dev" --query "Reservations[*].Instances[*].[Placement.AvailabilityZone]" --output text
eu-west-1a
[/simterm]
Creating EBS
Create an EBS volume (by default the standard i.e. HDD will be used, if you want to have SSD – add --volume-type gp2):
[simterm]
$ aws --profile bm-backend ec2 create-volume --region eu-west-1 --availability-zone eu-west-1a --size 5 --tag-specifications 'ResourceType=volume,Tags=[{Key=Name,Value=bitwarden-dev-ebs}]'
[/simterm]
Here we set the same region (--region eu-west-1) and the same Availability Zone (--availability-zone eu-west-1a) where the ЕС2 was started and the disk size is 5 GiB.
Get this EBS ID:
[simterm]
$ aws --profile bm-backend ec2 describe-volumes --region eu-west-1  --filters "Name=tag:Name,Values=bitwarden-dev-ebs" --query "Volumes[*].VolumeId" --output text
vol-0621e68897eb2a3d8
[/simterm]
And ID of the EC2:
[simterm]
$ aws --profile bm-backend ec2 describe-instances --region eu-west-1 --filters "Name=tag:Name,Values=bitwarden-dev" --query "Reservations[*].Instances[*].InstanceId" --output text
i-0ac18e298768e2c4b
[/simterm]
Attache this EBS to the EC2:
[simterm]
$ aws --profile bm-backend ec2 attach-volume --region eu-west-1 --volume-id vol-0621e68897eb2a3d8 --instance-id i-0ac18e298768e2c4b --device xvdb
[/simterm]
Security Group
Create a Security Group – here via WebUI to make it quickly.
During creating this SG pay attention on a VPC ID – must be the same as used for your EC2:
Allow access to the 80 port from anywhere to make Let’s Encrypt authorization working.
443 and 22 ports allowed from our office only.
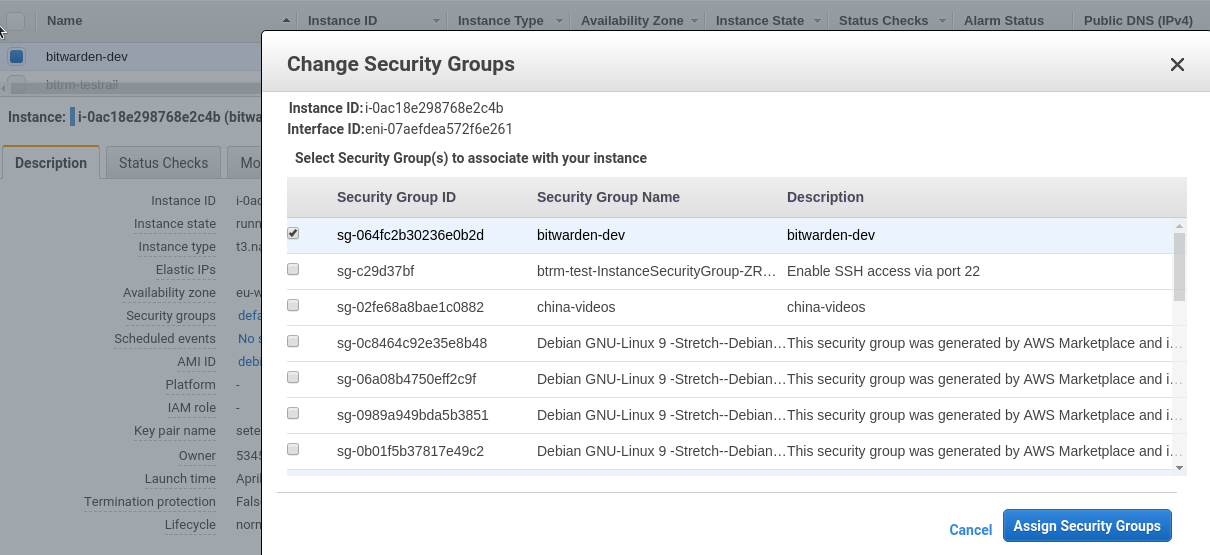
Attache this SG to the EC2 – Networking > Change Security Group:
Mounting EBS
Log in to the server:
[simterm]
$ ssh [email protected] -i setevoy-testing-eu-west-1.pem
[/simterm]
Check disks:
[simterm]
admin@ip-172-31-36-249:~$ lsblk
NAME        MAJ:MIN RM SIZE RO TYPE MOUNTPOINT
nvme0n1     259:0    0   8G  0 disk
└─nvme0n1p1 259:1    0   8G  0 part /
nvme1n1     259:2    0   5G  0 disk
[/simterm]
nvme1n1 is our EBS.
Create /bitwarden directory:
[simterm]
admin@ip-172-31-36-249:~$ sudo -s
root@ip-172-31-36-249:/home/admin# mkdir /bitwarden
[/simterm]
Create a partition on the /dev/nvme1n1:
[simterm]
root@ip-172-31-36-249:/home/admin# sgdisk -n 1 /dev/nvme1n1
Creating new GPT entries.
The operation has completed successfully.
[/simterm]
Create a file system:
[simterm]
root@ip-172-31-36-249:/home/admin# mkfs.ext4 /dev/nvme1n1p1
[/simterm]
Check partitions now:
[simterm]
root@ip-172-31-36-249:/home/admin# fdisk /dev/nvme1n1
...
Device         Start      End  Sectors Size Type
/dev/nvme1n1p1  2048 10485726 10483679   5G Linux filesystem
[/simterm]
Mount it to the /bitwarden:
[simterm]
root@ip-172-31-36-249:/home/admin# mount /dev/nvme1n1p1 /bitwarden/
root@ip-172-31-36-249:/home/admin# ls -l /bitwarden/
total 16
drwx------ 2 root root 16384 Apr 30 10:15 lost+found
[/simterm]
Get partition’s ID:
[simterm]
root@ip-172-31-36-249:/home/admin# blkid /dev/nvme1n1p1
/dev/nvme1n1p1: UUID="5e3972d4-c742-4224-80d6-8239e5201ae1" TYPE="ext4" PARTUUID="929f264c-ac03-4f9f-9071-056c1511de0e"
[/simterm]
Using this UUID add a new mount point to the /etc/fstab with the --nofail option:
[simterm]
root@ip-172-31-36-249:/home/admin# cat /etc/fstab
UUID=3866caa4-0449-4478-899b-60eb6f71dd26       /       ext4    rw,discard,errors=remount-ro    0       1
UUID="5e3972d4-c742-4224-80d6-8239e5201ae1" /bitwarden ext4 nofail 0 0
[/simterm]
Unmount partition mounted manually:
[simterm]
root@ip-172-31-36-249:/home/admin# umount /bitwarden/
[/simterm]
And mount it back using fstab:
[simterm]
root@ip-172-31-36-249:/home/admin# mount -a
[/simterm]
Check:
[simterm]
root@ip-172-31-36-249:/home/admin# findmnt /bitwarden/
TARGET     SOURCE         FSTYPE OPTIONS
/bitwarden /dev/nvme1n1p1 ext4   rw,relatime,data=ordered
[/simterm]
Can reboot instance now to check mount works properly now.
Also, install all updates:
[simterm]
root@ip-172-31-36-249:/home/admin# apt update && apt -y upgrade && reboot
[/simterm]
DNS
Create a domain name to be used:
The host’s set up
Let’s Encrypt
Install client:
[simterm]
root@ip-172-31-36-249:/home/admin# apt install -y git
root@ip-172-31-36-249:/home/admin# git clone https://github.com/letsencrypt/letsencrypt /opt/letsencrypt
[/simterm]
Get a certificate using standalone authenticator:
[simterm]
root@ip-172-31-36-249:/home/admin# /opt/letsencrypt/letsencrypt-auto certonly -d dev.bitwarden.setevoy.org.ua
Saving debug log to /var/log/letsencrypt/letsencrypt.log

How would you like to authenticate with the ACME CA?
- - - - - - - - - - - - - - - - - - - - - - - - - - - - - - - - - - - - - - - -
1: Spin up a temporary webserver (standalone)
2: Place files in webroot directory (webroot)
- - - - - - - - - - - - - - - - - - - - - - - - - - - - - - - - - - - - - - - -
Select the appropriate number [1-2] then [enter] (press 'c' to cancel): 1
Plugins selected: Authenticator standalone, Installer None
Enter email address (used for urgent renewal and security notices) (Enter 'c' to
cancel): [email protected]

- - - - - - - - - - - - - - - - - - - - - - - - - - - - - - - - - - - - - - - -
Please read the Terms of Service at
https://letsencrypt.org/documents/LE-SA-v1.2-November-15-2017.pdf. You must
agree in order to register with the ACME server at
https://acme-v02.api.letsencrypt.org/directory
- - - - - - - - - - - - - - - - - - - - - - - - - - - - - - - - - - - - - - - -
(A)gree/(C)ancel: A

- - - - - - - - - - - - - - - - - - - - - - - - - - - - - - - - - - - - - - - -
Would you be willing to share your email address with the Electronic Frontier
Foundation, a founding partner of the Let's Encrypt project and the non-profit
organization that develops Certbot? We'd like to send you email about our work
encrypting the web, EFF news, campaigns, and ways to support digital freedom.
- - - - - - - - - - - - - - - - - - - - - - - - - - - - - - - - - - - - - - - -
(Y)es/(N)o: N
Obtaining a new certificate
Performing the following challenges:
http-01 challenge for dev.bitwarden.setevoy.org.ua
Waiting for verification...
Cleaning up challenges

IMPORTANT NOTES:
 - Congratulations! Your certificate and chain have been saved at:
   /etc/letsencrypt/live/dev.bitwarden.setevoy.org.ua/fullchain.pem
   Your key file has been saved at:
   /etc/letsencrypt/live/dev.bitwarden.setevoy.org.ua/privkey.pem
...
[/simterm]
NGINX
Install NGINX:
[simterm]
root@ip-172-31-36-249:/home/admin# apt -y install nginx
[/simterm]
Generate a key for the SSL:
[simterm]
root@ip-172-31-36-249:/home/admin# openssl dhparam -out /etc/nginx/dhparams.pem 2048
[/simterm]
Add a virtual host’s config – /etc/nginx/conf.d/dev.bitwarden.setevoy.org.ua.conf:
server {

    listen 80;

    server_name dev.bitwarden.setevoy.org.ua;

    # Lets Encrypt Webroot
    location ~ /.well-known {
        root /var/www/html;
        allow all;
    }

    location / {

        # office1
        allow 194.***.***.24/29;
        # office2
        allow 91.***.***.78/32;
        # arseny home
        allow 188.***.***.48/32;
        deny  all;

        return 301 https://dev.bitwarden.setevoy.org.ua;
    }
}

server {

    listen       443 ssl;

    server_name  dev.bitwarden.setevoy.org.ua;
    root /var/www/html;

    access_log  /var/log/nginx/dev.bitwarden.setevoy.org.ua-access.log;
    error_log /var/log/nginx/dev.bitwarden.setevoy.org.ua-error.log warn;

    # office1
    allow 194.***.***.24/29;
    # office2
    allow 91.***.***.78/32;
    # arseny home
    allow 188.***.***.48/32;
    deny  all;

    ssl_certificate /etc/letsencrypt/live/dev.bitwarden.setevoy.org.ua/fullchain.pem;
    ssl_certificate_key /etc/letsencrypt/live/dev.bitwarden.setevoy.org.ua/privkey.pem;
    ssl_protocols TLSv1 TLSv1.1 TLSv1.2;
    ssl_prefer_server_ciphers on;
    ssl_dhparam /etc/nginx/dhparams.pem;
    ssl_ciphers "EECDH+AESGCM:EDH+AESGCM:ECDHE-RSA-AES128-GCM-SHA256:AES256+EECDH:DHE-RSA-AES128-GCM-SHA256:AES256+EDH:ECDHE-RSA-AES256-GCM-SHA384:DHE-RSA-AES256-GCM-SHA384:ECDHE-RSA-AES256-SHA384:ECDHE-RSA-AES128-SHA256:ECDHE-RSA-AES256-SHA:ECDHE-RSA-AES128-SHA:DHE-RSA-AES256-SHA256:DHE-RSA-AES128-SHA256:DHE-RSA-AES256-SHA:DHE-RSA-AES128-SHA:ECDHE-RSA-DES-CBC3-SHA:EDH-RSA-DES-CBC3-SHA:AES256-GCM-SHA384:AES128-GCM-SHA256:AES256-SHA256:AES128-SHA256:AES256-SHA:AES128-SHA:DES-CBC3-SHA:HIGH:!aNULL:!eNULL:!EXPORT:!DES:!MD5:!PSK:!RC4";
    ssl_session_timeout 1d;
    ssl_stapling on;
    ssl_stapling_verify on;

    location / {
        proxy_pass http://localhost:8000/;
        proxy_set_header Host $host;
        proxy_set_header X-Real-IP $remote_addr;
        proxy_set_header X-Forwarded-For $proxy_add_x_forwarded_for;
        proxy_set_header X-Forwarded-Proto $scheme;

        client_max_body_size 0;
        add_header Strict-Transport-Security "max-age=31536000; includeSubDomains; preload";
        add_header Referrer-Policy "same-origin";
    }
}
Check its syntax and reload configs:
[simterm]
root@ip-172-31-36-249:/home/admin# nginx  -t && systemctl reload nginx
nginx: the configuration file /etc/nginx/nginx.conf syntax is ok
nginx: configuration file /etc/nginx/nginx.conf test is successful
[/simterm]
Check:
[simterm]
root@ip-172-31-36-249:/home/admin# curl -vL dev.bitwarden.setevoy.org.ua
...
* Connected to dev.bitwarden.setevoy.org.ua (34.240.14.78) port 80 (#0)
< HTTP/1.1 301 Moved Permanently
...
< Location: https://dev.bitwarden.setevoy.org.ua
...
curl: (7) Failed to connect to dev.bitwarden.setevoy.org.ua port 443: Connection timed out
[/simterm]
All good.
Connection timed out – as we have no backend running yet.
Docker and Docker Compose
To run Bitwarden need to have Docker and Docker Compose – install them.
Docker:
[simterm]
root@ip-172-31-36-249:/home/admin# curl -L get.docker.com | bash
[/simterm]
Check:
[simterm]
root@ip-172-31-36-249:/home/admin# docker -v
Docker version 18.09.5, build e8ff056dbc
[/simterm]
Add the admin user to the docker group:
[simterm]
root@ip-172-31-36-249:/home/admin# usermod -aG docker admin
[/simterm]
Install Docker Compose:
[simterm]
root@ip-172-31-36-249:/home/admin# curl -L "https://github.com/docker/compose/releases/download/1.24.0/docker-compose-$(uname -s)-$(uname -m)" -o /usr/local/bin/docker-compose
root@ip-172-31-36-249:/home/admin# chmod +x /usr/local/bin/docker-compose
root@ip-172-31-36-249:/home/admin# docker-compose -v
docker-compose version 1.24.0, build 0aa59064
[/simterm]
Bitwarden installation
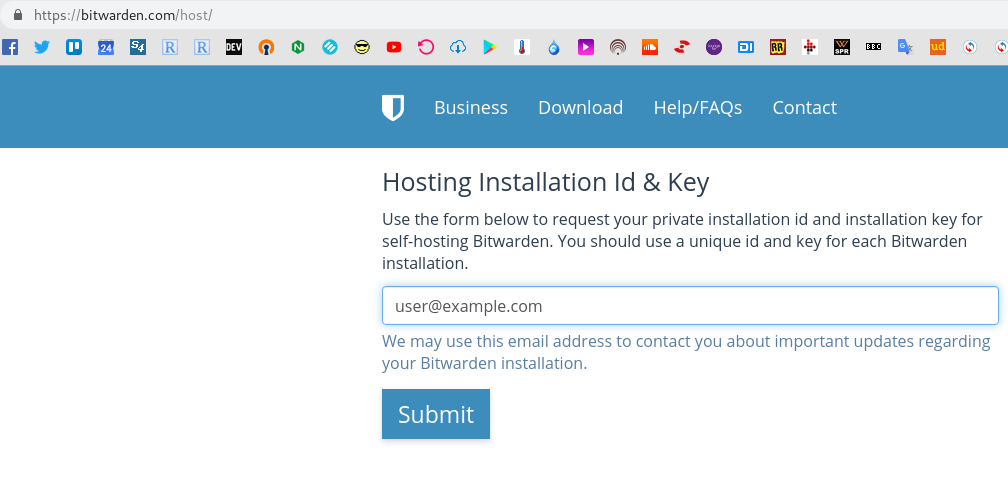
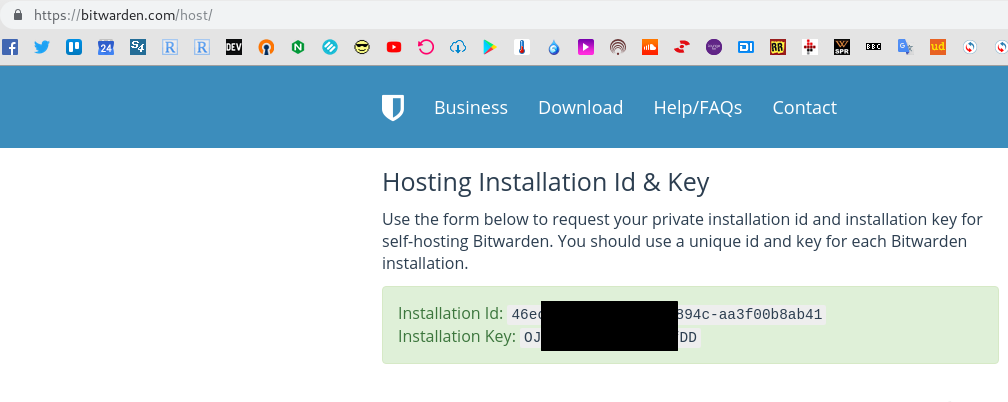
Go to the bitwarden.com/host and get keys:
Each Bitwarden needs to have own set of those keys.
Download installation, configuration, and management script:
[simterm]
root@ip-172-31-36-249:/home/admin# cd /bitwarden/
root@ip-172-31-36-249:/bitwarden# curl -s -o bitwarden.sh https://raw.githubusercontent.com/bitwarden/core/master/scripts/bitwarden.sh
root@ip-172-31-36-249:/bitwarden# chmod +x bitwarden.sh
[/simterm]
This script will download files from the https://github.com/bitwarden/server repository and then will call the https://github.com/bitwarden/server/blob/master/scripts/run.sh script with the install option.
All options for the bitwarden.sh:
| Command | Description |
|---|---|
| install | Start the installer. |
| start | Start all containers. |
| restart | Restart all containers (same as start). |
| stop | Stop all containers. |
| updatedb | Update/initialize the database. |
| update | Update all containers and the database. |
| updateself | Update this main script. |
| rebuild | Rebuild generated installation assets from config.yml. |
Start installation:
[simterm]
root@ip-172-31-36-249:/bitwarden# ./bitwarden.sh install
 _     _ _                         _
| |__ (_) |___      ____ _ _ __ __| | ___ _ __
| '_ \| | __\ \ /\ / / _` | '__/ _` |/ _ \ '_ \
| |_) | | |_ \ V  V / (_| | | | (_| |  __/ | | |
|_.__/|_|\__| \_/\_/ \__,_|_|  \__,_|\___|_| |_|
...
(!) Enter the domain name for your Bitwarden instance (ex. bitwarden.company.com): dev.bitwarden.setevoy.org.ua

(!) Do you want to use Let's Encrypt to generate a free SSL certificate? (y/n): n

1.30.1: Pulling from bitwarden/setup
...
Status: Downloaded newer image for bitwarden/setup:1.30.1
...
(!) Enter your installation id (get at https://bitwarden.com/host): 46ec2f0b-***-***-aa3f00b8ab41

(!) Enter your installation key: OJ0***fDD

(!) Do you have a SSL certificate to use? (y/n): y

...

(!) Is this a trusted SSL certificate (requires ca.crt, see docs)? (y/n): y

Generating key for IdentityServer.
Generating a RSA private key
...............................................................................................................................................................++
.................++
writing new private key to 'identity.key'
-----

Building nginx config.
Building docker environment files.
Building docker environment override files.
Building FIDO U2F app id.
Building docker-compose.yml.

Installation complete
...
Next steps, run:
`./bitwarden.sh start`
[/simterm]
Bitwarden configuration
The script will save all Bitwarden’s data to the bwdata directory:
[simterm]
root@ip-172-31-36-249:/bitwarden# ll
total 24
-rwxr-xr-x  1 root   root     2535 Apr 30 11:07 bitwarden.sh
drwxr-xr-x 11 nobody nogroup  4096 Apr 30 11:13 bwdata
root@ip-172-31-36-249:/bitwarden# ll bwdata/
total 40
drwxr-xr-x 2 nobody nogroup 4096 Apr 30 11:10 ca-certificates
-rw-r--r-- 1 nobody nogroup 3323 Apr 30 11:13 config.yml
drwxr-xr-x 2 nobody nogroup 4096 Apr 30 11:13 docker
drwxr-xr-x 2 nobody nogroup 4096 Apr 30 11:13 env
drwxr-xr-x 2 nobody nogroup 4096 Apr 30 11:13 identity
drwxr-xr-x 2 nobody nogroup 4096 Apr 30 11:10 letsencrypt
drwxr-xr-x 2 nobody nogroup 4096 Apr 30 11:13 nginx
drwxr-xr-x 2 nobody nogroup 4096 Apr 30 11:10 scripts
drwxr-xr-x 3 nobody nogroup 4096 Apr 30 11:13 ssl
drwxr-xr-x 2 nobody nogroup 4096 Apr 30 11:13 web
[/simterm]
The main configuration file is the bwdata/config.yml.
Also, in the ./bwdata/env/global.override.env file additional variables can be set, will check them a bit later.
Docker Compose stack will be started using the ./bwdata/docker/docker-compose.yml file:
version: '3'

services:
  mssql:
    image: bitwarden/mssql:1.30.1
    container_name: bitwarden-mssql
    restart: always
    volumes:
      - ../mssql/data:/var/opt/mssql/data
      - ../logs/mssql:/var/opt/mssql/log
      - ../mssql/backups:/etc/bitwarden/mssql/backups
    env_file:
      - mssql.env
      - ../env/uid.env
      - ../env/mssql.override.env

  web:
    image: bitwarden/web:2.10.0
    container_name: bitwarden-web
    restart: always
    volumes:
      - ../web:/etc/bitwarden/web
    env_file:
      - global.env
      - ../env/uid.env
...
Update the config.yml file – disable SSL as we have own NGINX with SSL and change HTTP and HTTPS ports:
...
# Docker compose file port mapping for HTTP. Leave empty to remove the port mapping.
# Learn more: https://docs.docker.com/compose/compose-file/#ports
http_port: 8000
# Docker compose file port mapping for HTTPS. Leave empty to remove the port mapping.
# Learn more: https://docs.docker.com/compose/compose-file/#ports
https_port: 8001
...
# Configure Nginx for SSL.
ssl: false
...
Update applications configs:
[simterm]
./bitwarden.sh rebuild
[/simterm]
Start Bitwarden:
[simterm]
root@ip-172-31-36-249:/bitwarden# ./bitwarden.sh start
...
Bitwarden is up and running!
[/simterm]
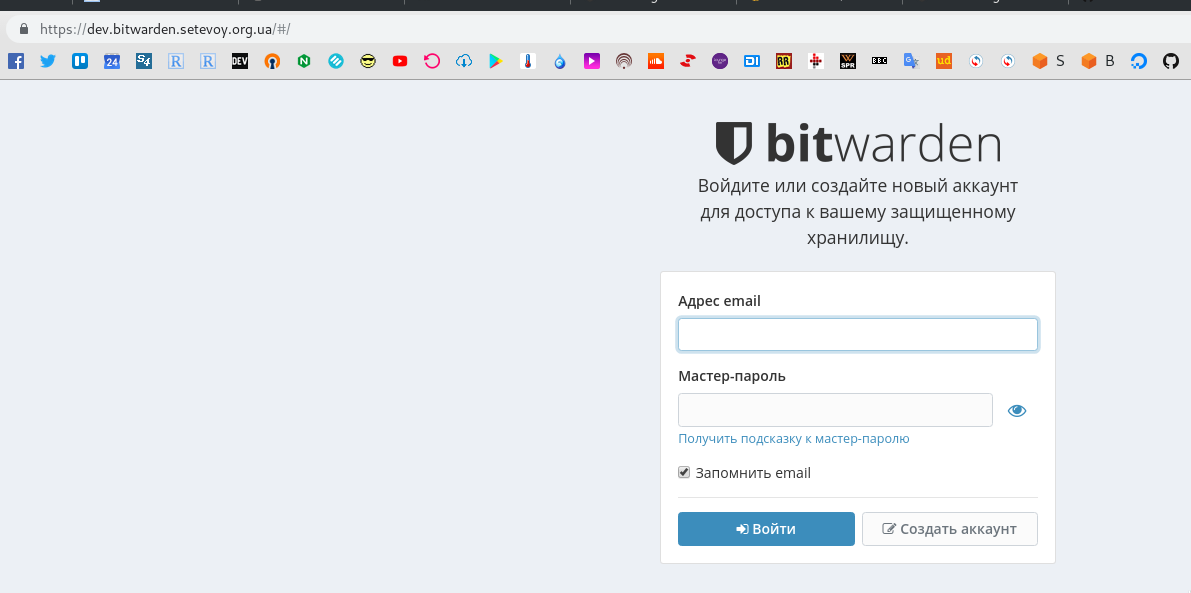
Check in a browser:
Check containers:
[simterm]
root@ip-172-31-36-249:/bitwarden# docker ps
CONTAINER ID        IMAGE                            COMMAND             CREATED             STATUS              PORTS                                                    NAMES
b196ee0f81ff        bitwarden/nginx:1.30.1           "/entrypoint.sh"    About an hour ago   Up About an hour    80/tcp, 0.0.0.0:5178->8080/tcp, 0.0.0.0:5179->8443/tcp   bitwarden-nginx
ef03f591491d        bitwarden/admin:1.30.1           "/entrypoint.sh"    About an hour ago   Up About an hour    5000/tcp                                                 bitwarden-admin
d4fa88921cce        bitwarden/api:1.30.1             "/entrypoint.sh"    About an hour ago   Up About an hour    5000/tcp                                                 bitwarden-api
408c5f0bd370        bitwarden/notifications:1.30.1   "/entrypoint.sh"    About an hour ago   Up About an hour    5000/tcp                                                 bitwarden-notifications
9bec10bc09d8        bitwarden/icons:1.30.1           "/entrypoint.sh"    About an hour ago   Up About an hour    5000/tcp                                                 bitwarden-icons
f87789cc4da4        bitwarden/mssql:1.30.1           "/entrypoint.sh"    About an hour ago   Up About an hour    1433/tcp                                                 bitwarden-mssql
143370f979c5        bitwarden/web:2.10.0             "/entrypoint.sh"    About an hour ago   Up About an hour    5000/tcp                                                 bitwarden-web
acdc220a7c29        bitwarden/identity:1.30.1        "/entrypoint.sh"    About an hour ago   Up About an hour    5000/tcp                                                 bitwarden-identity
925d047b6321        bitwarden/attachments:1.30.1     "/entrypoint.sh"    About an hour ago   Up About an hour    5000/tcp                                                 bitwarden-attachments
[/simterm]
In those containers, Bitwarden will mount directories from the host, for example mssql:
[simterm]
root@ip-172-31-36-249:/bitwarden# docker inspect bitwarden-mssql | jq .[].Mounts
[
  {
    "Type": "bind",
    "Source": "/bitwarden/bwdata/logs/mssql",
    "Destination": "/var/opt/mssql/log",
    "Mode": "rw",
    "RW": true,
    "Propagation": "rprivate"
  },
  {
    "Type": "bind",
    "Source": "/bitwarden/bwdata/mssql/data",
    "Destination": "/var/opt/mssql/data",
    "Mode": "rw",
    "RW": true,
    "Propagation": "rprivate"
  },
  {
    "Type": "bind",
    "Source": "/bitwarden/bwdata/mssql/backups",
    "Destination": "/etc/bitwarden/mssql/backups",
    "Mode": "rw",
    "RW": true,
    "Propagation": "rprivate"
  }
]
[/simterm]
Thus for a backup will be enough just to store the bwdata catalog.
Email configuration
Email settings are set in the bwdata/env/global.override.env file.
We will use AWS SES, update variables:
...
[email protected]
globalSettings__mail__smtp__host=email-smtp.us-east-1.amazonaws.com
globalSettings__mail__smtp__port=587
globalSettings__mail__smtp__ssl=false
globalSettings__mail__smtp__username=AKI***MJI
globalSettings__mail__smtp__password=BKR***z2G
...
Restart Bitwarden (rebuild needs to be done only after changes in the config.yml):
[simterm]
root@ip-172-31-36-249:/bitwarden# ./bitwarden.sh restart
[/simterm]
In case of email sending problems – check logs in the bwdata/logs/api/Api/ directory or from the bitwarden-api container
[simterm]
root@ip-172-31-36-249:/bitwarden# docker logs -f bitwarden-api
[/simterm]
Registration in the Bitwarden
Now you can register in your Bitwarden installation.
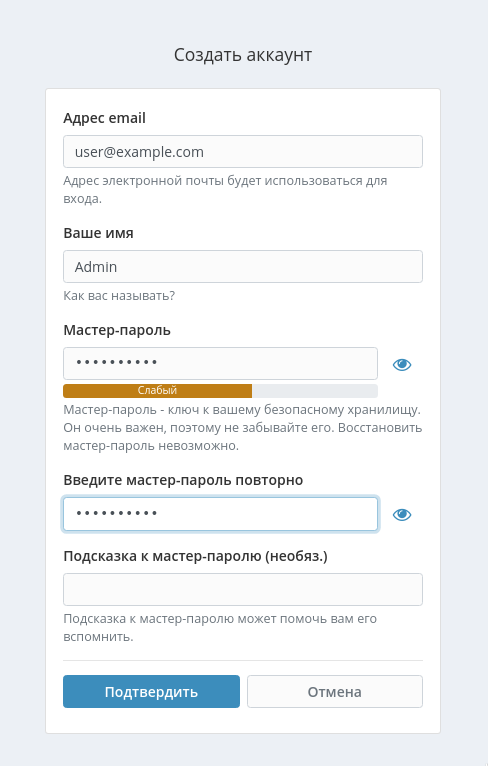
Click on the Create account:
Click Confirm.
Bitwarden Admin and users
Add an administrator mailbox to the bwdata/env/global.override.env file in the adminSettings__admins= field.
Note, that the documentation says:
These admin email addresses do not need to be registered with an account on your Bitwarden installation
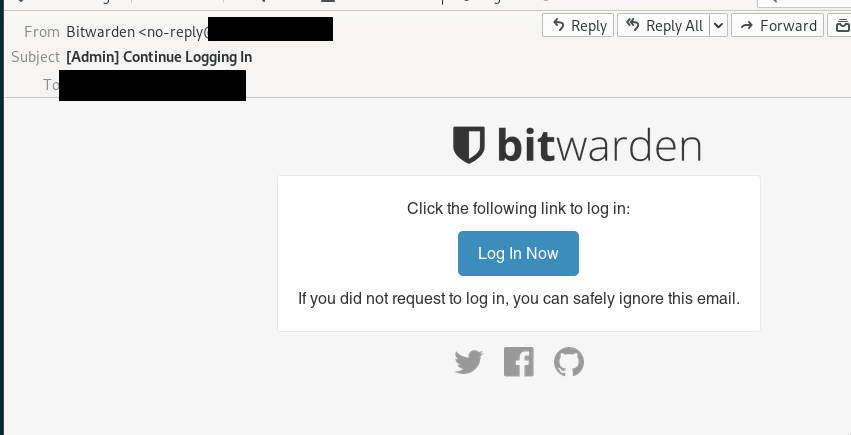
After logging in with this mailbox – you’ll get an email with a link to proceed authorization to the admin page. This link will be valid for 15 minutes:
...
[email protected],[email protected]
...
Restart service:
[simterm]
root@ip-172-31-36-249:/bitwarden# ./bitwarden.sh restart
[/simterm]
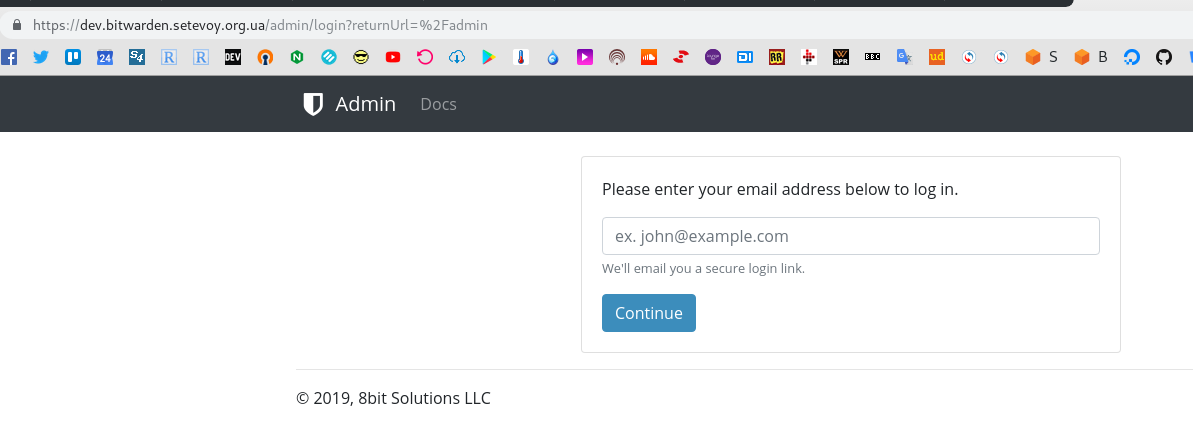
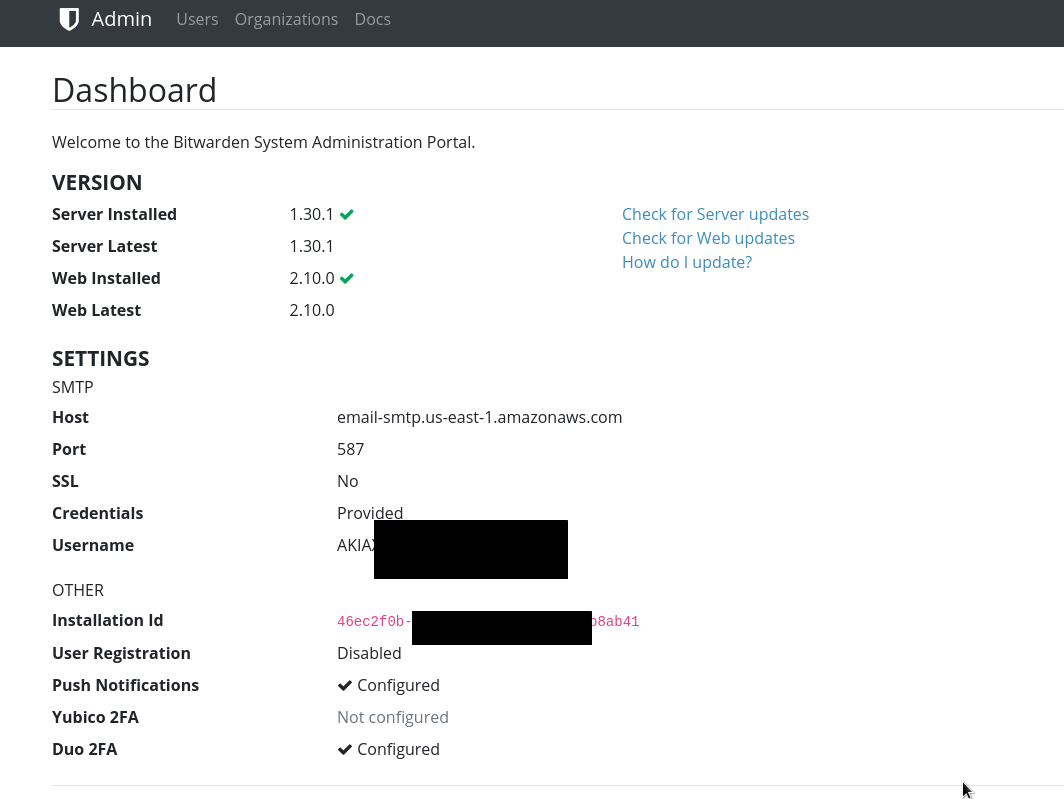
And go to the https://dev.bitwarden.setevoy.org.ua/admin page:
Log in with the mailbox specified in the adminSettings__admins, get an email, go by the link:
Users settings
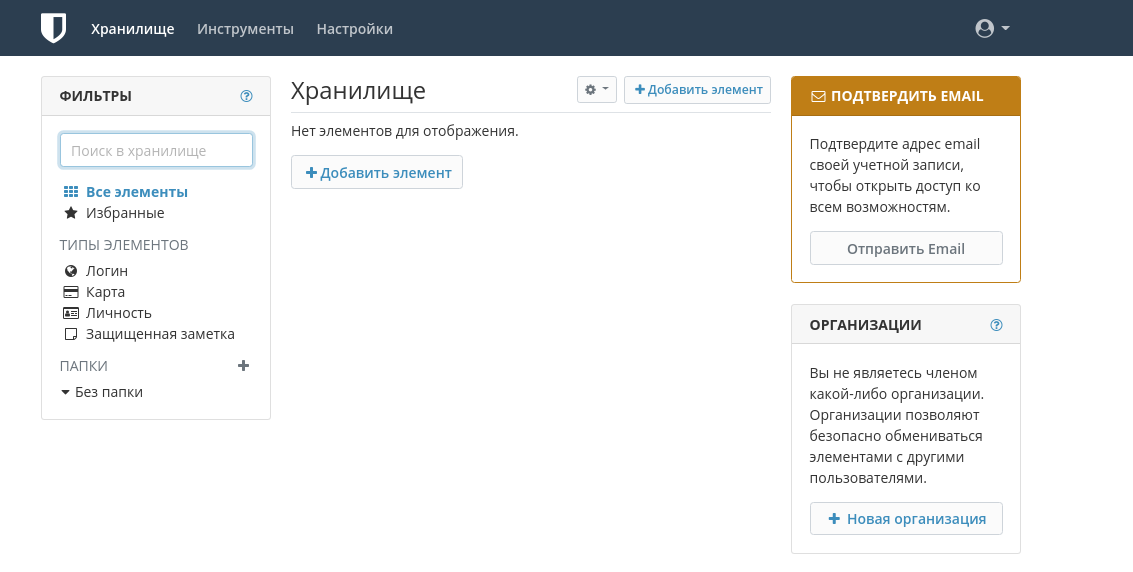
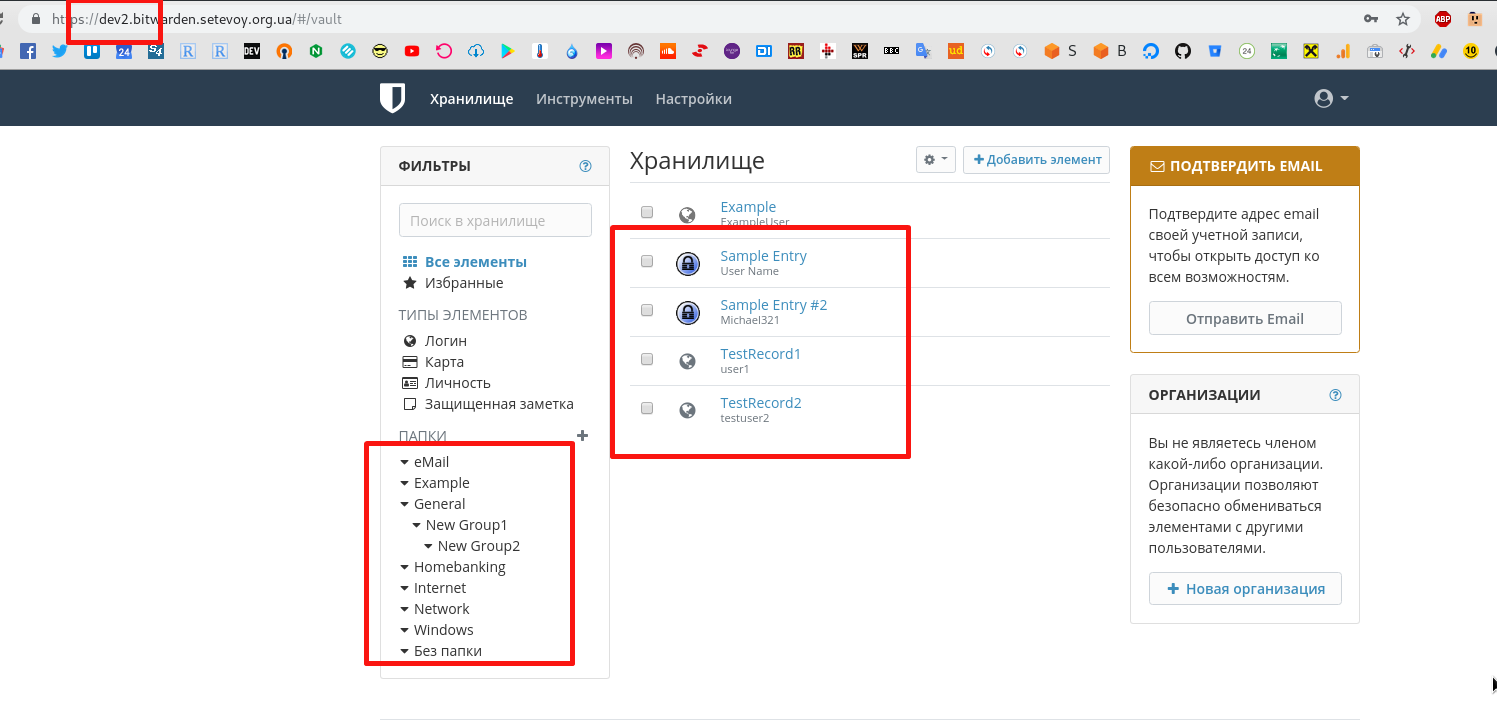
Log in using common Log In form and will see usual userspace:
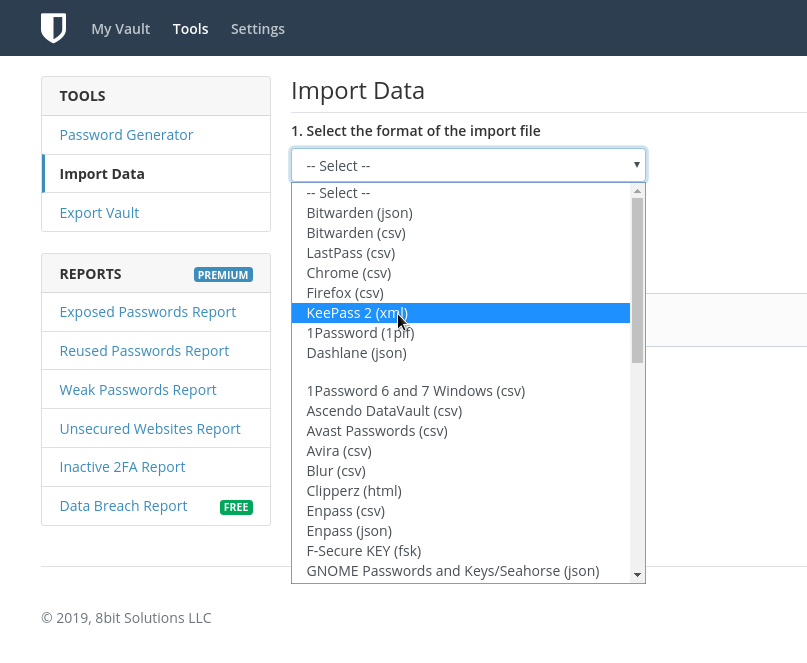
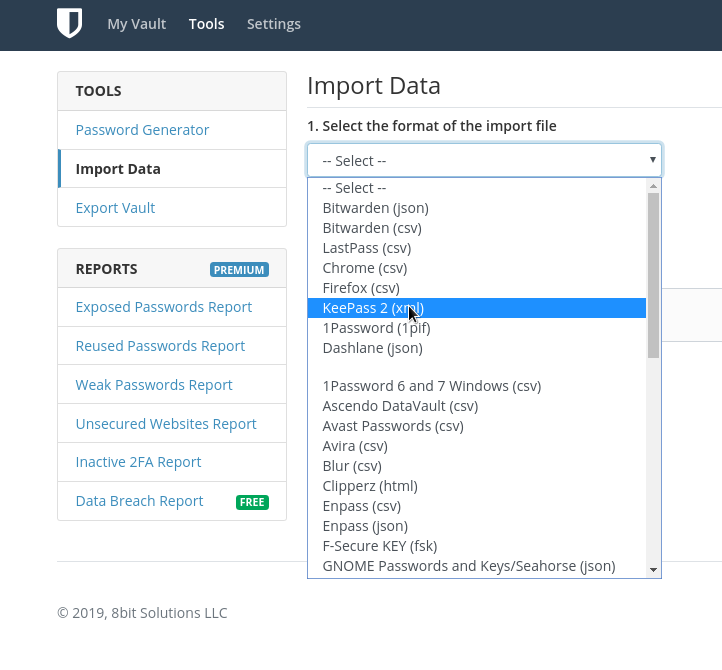
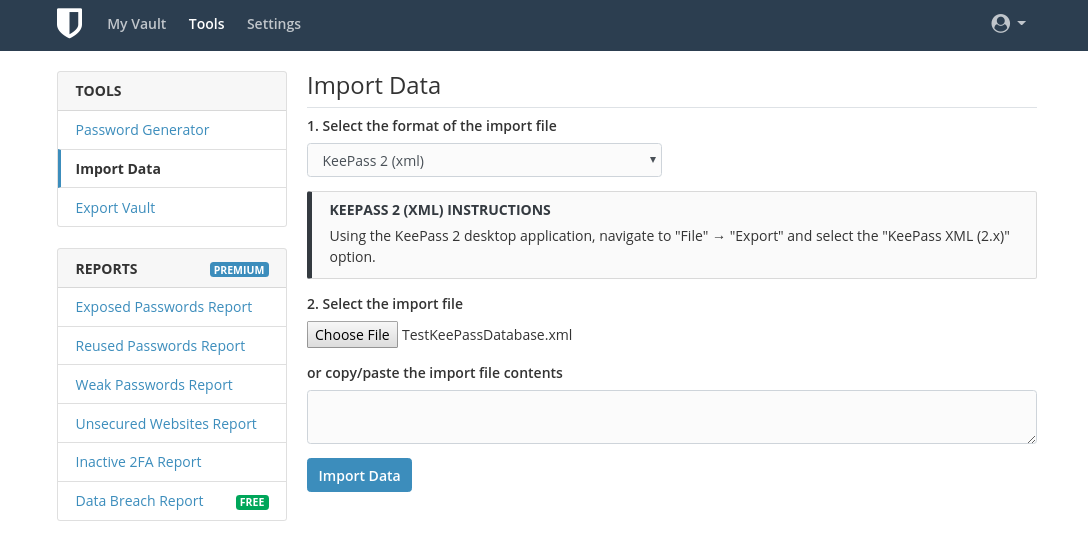
In the Tools you can import data from various passwords managers like KeePass:
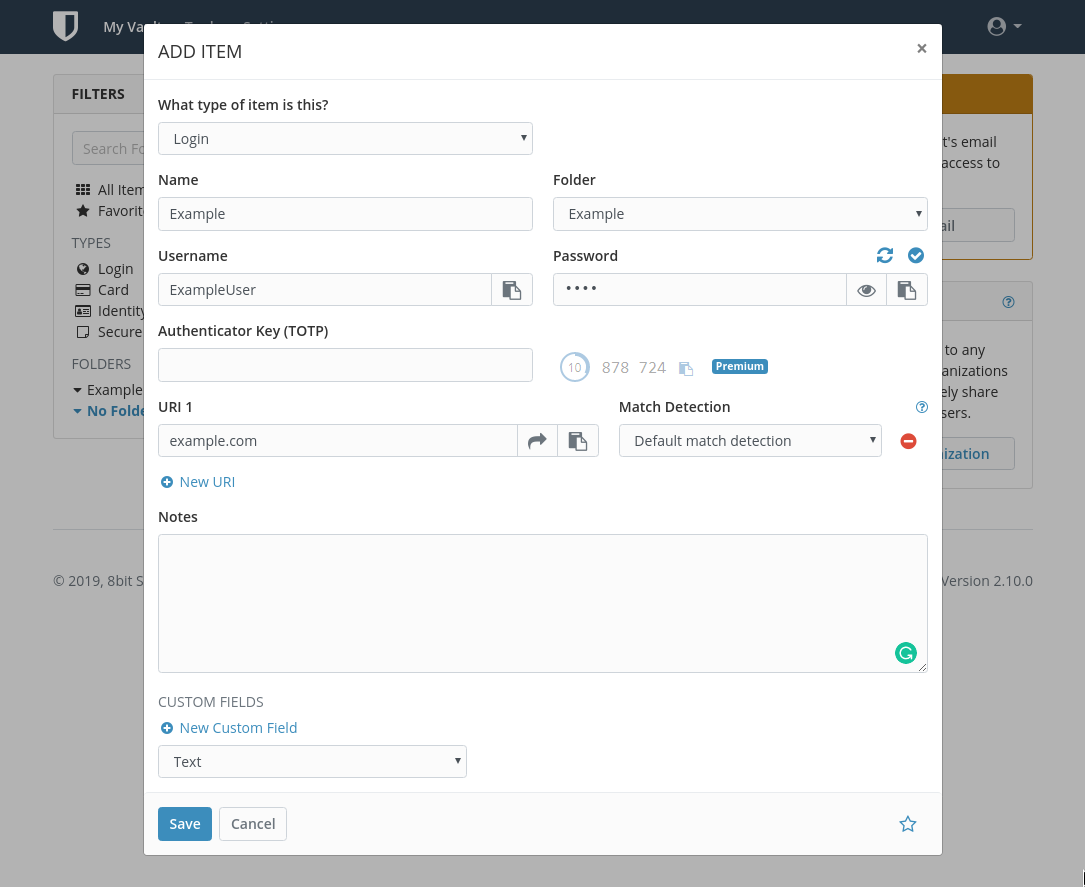
Adding passwords manually:
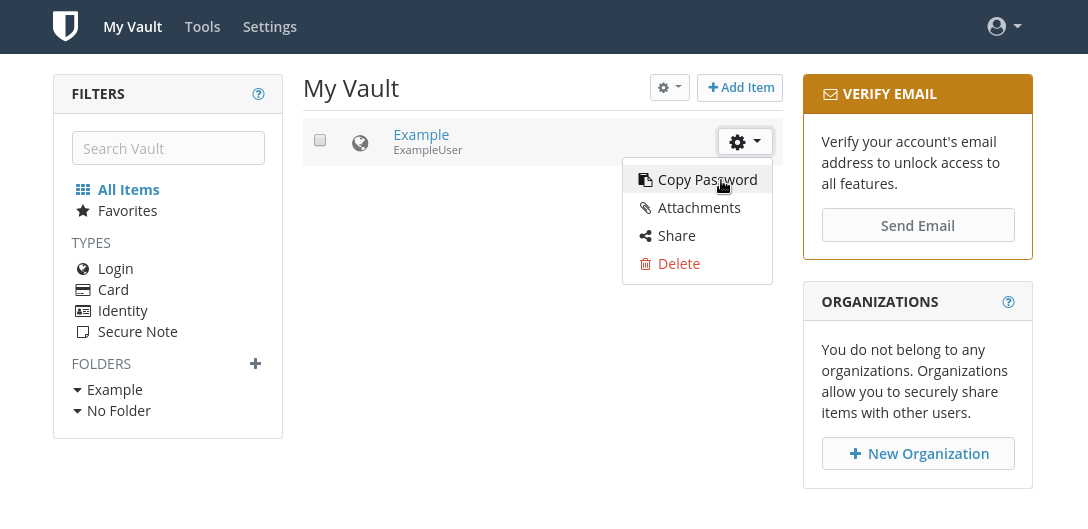
Getting a password:
Working with Bitwarden
Chrome plugin
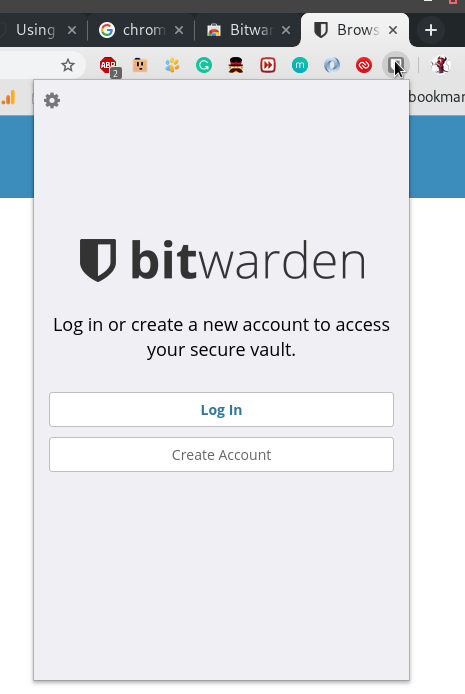
Install Chrome extension from the Chrome webstore:
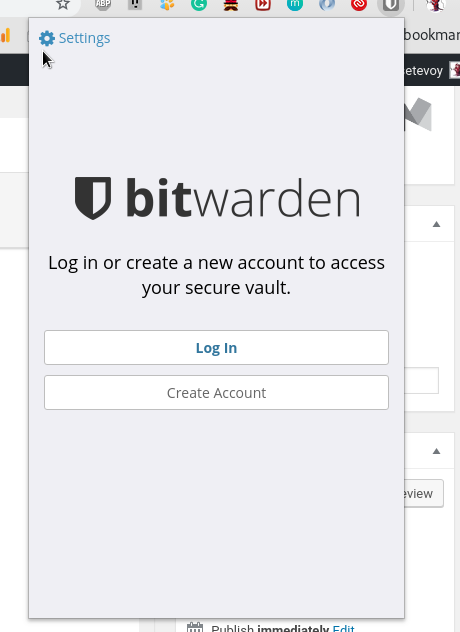
Click on the Settings:
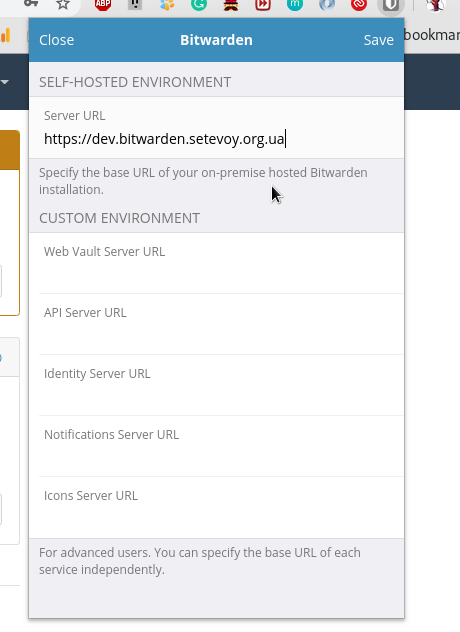
Set your server’s URL:
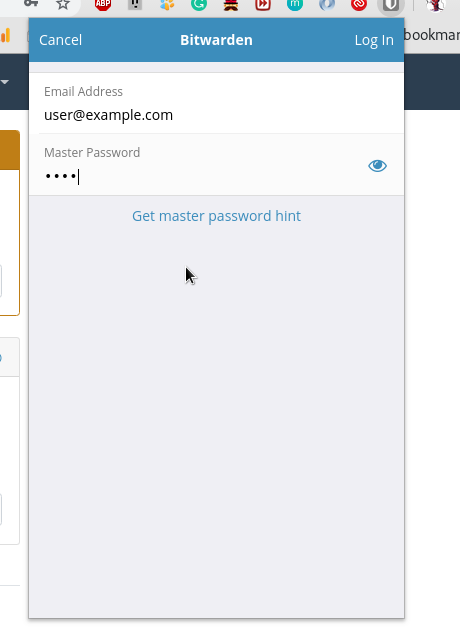
Log in:
And get all your passwords directly from a browser:
Also, it will suggest storing passwords during logins as a usual passwords manager:
Linux desktop
I guess it has clients for any Linux-based systems
In Arch Linux can be installed from AUR:
[simterm]
$ yaourt -S bitwarden-bin
[/simterm]
And log in in the same way as in the Chrome extension:
Import from KeePass
Let’s check how import is working
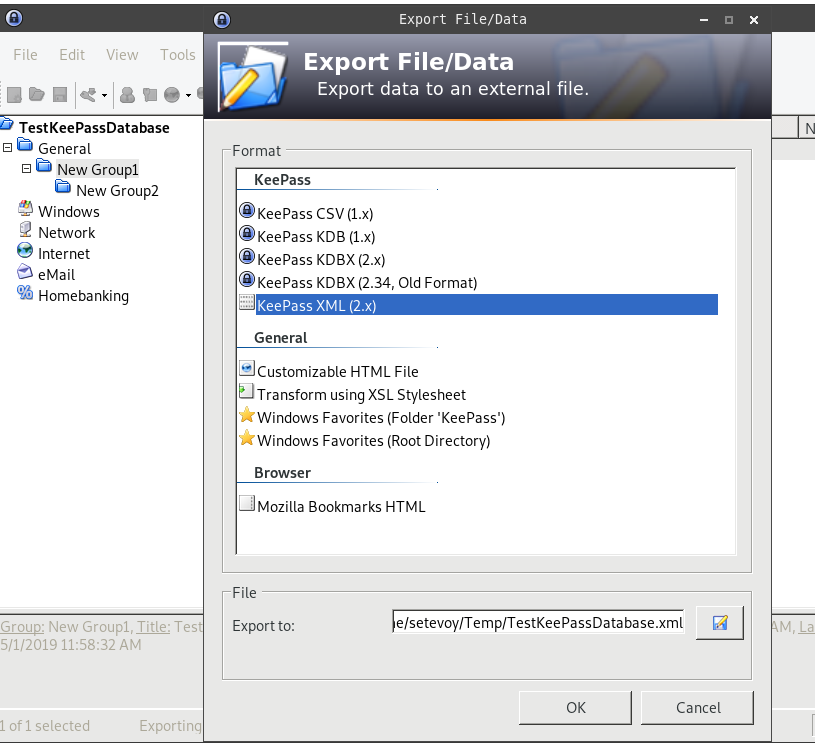
In your KeePass export data to an XML file:
Then go to the Bitwarden – Tools > Import data:
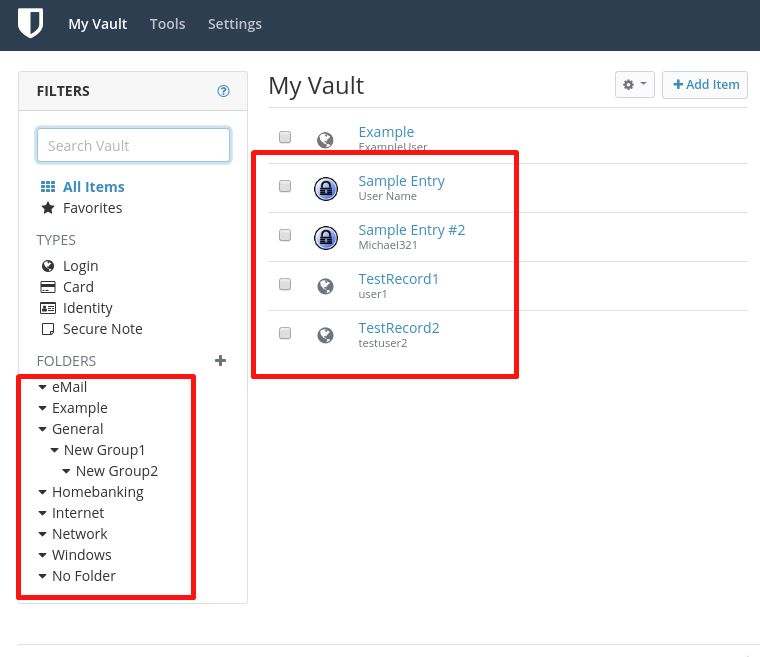
Ready – even with directories structure:
Export can be done in the same way – you can upload data from Bitwarden in a JSON or CSV file and the CSV can be imported to a local KeePass. Such an additional backup.
Keep in mind that the exported file will have all passwords unencrypted.
Multi-factor authorization
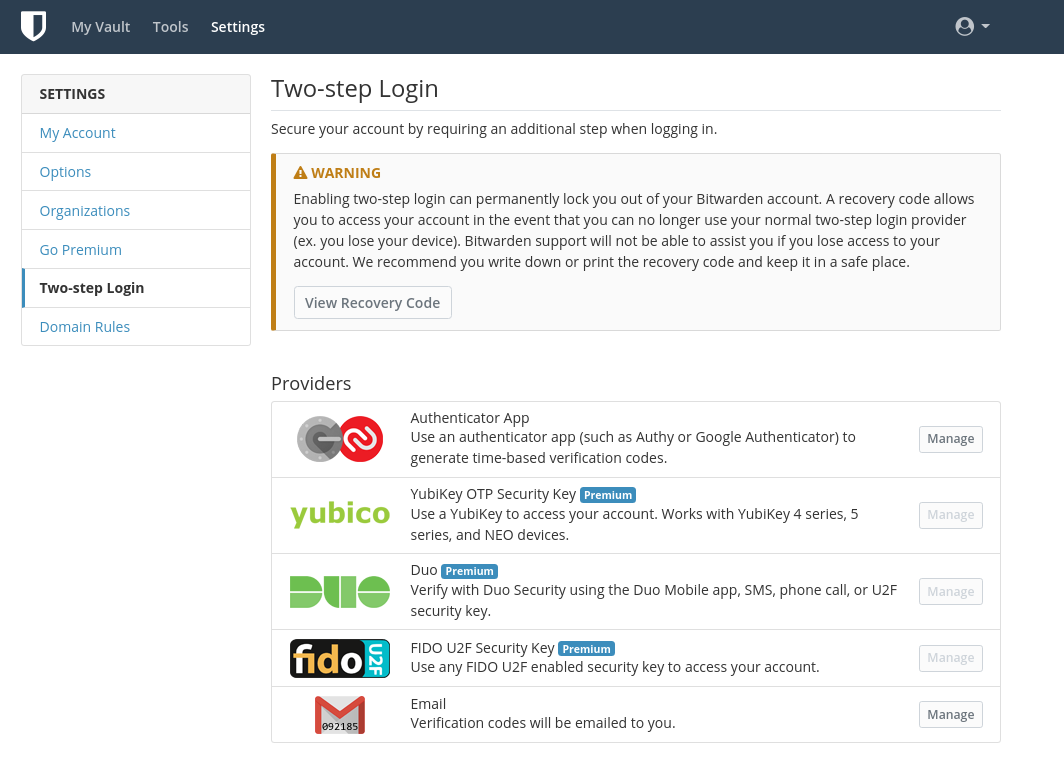
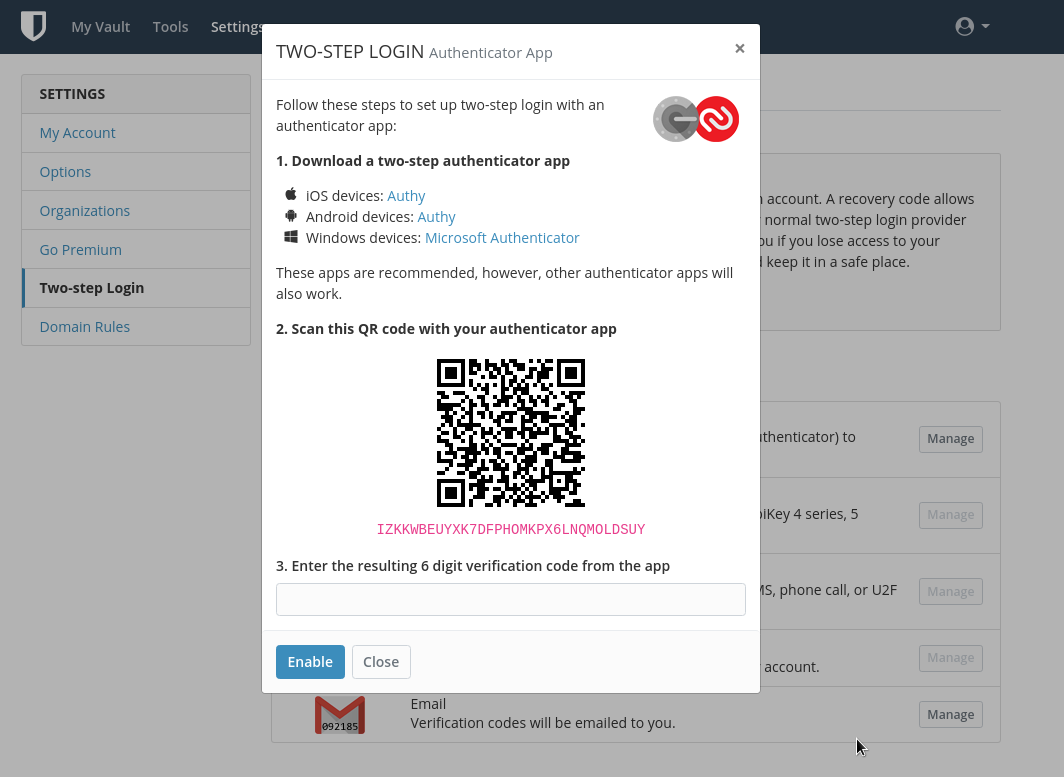
MFA can be configured in My account – Two-step Login, everything in a standard way here:
Backuping and restoring Bitwarden storage
Nobody wants to lose an organization’s all passwords so let’s check how backup and restore will works.
As we have /bitwarden mounted from a dedicated EBS volume then it can be daily snapshotted by AWS Data Lifecycle Manager and then in case of problems – a new volume can be created and mounted to a new EC2 instance with a new Bitwarden installation.
So steps to check are, quickly:
- create a snapshot manually
- create a new EBS using this snapshot
- start a new ЕС2
- attach this EBS and mount it to the
/bitwarden - obtain a Let’s Encrypt Certificate
- install NGINX, set up a virtual host
- install Docker, Docker Compose
- if a domain was changed – update
/bitwarden/bwdata/config.yml, change theurlparameter - run
./bitwarden.sh rebuild - run
./bitwarden.sh start - …
- Profit!
That’s all for now.
When will get a trial license – will play with user’s and roles.


